IMPORTANT VOTING INFORMATION FOR BOARD POSITIONS- Voting will open once quorum is reached during tomorrow's (June1, 730pm) monthly meeting, and will close shortly after all the candidates have had an opportunity to speak
- Voting is virtual and you will be receiving the ballot in the email associated with your Makersmiths account. These ballots are unique to each member, please do not forward them
- Individual memberships = 1 ballot to the individual's email, Household memberships = 2 ballots, one each sent to the primary and secondary user's email
- Only members may vote
- You are voting for 2 board positions so you may vote for up to 2 candidates
- You can read about the candidates here and they will speak at the board meeting tomorrow night
- to summarize: members will receive ballots as previously described, however voting will ONLY be open for a limited period of time during the member meeting
|
|
|
President's Message
John Dubelko
Greetings Members, This a reminder that at the June 1st meeting, we will vote on two board positions. The meeting will be both online and in person at the Leesburg location. We need EVERY member there! At the July board of directors meeting, the officers for the upcoming year will be appointed. Those positions are secretary, president, and treasurer. The bookkeeper will also be identified. If you would like to be considered for one of these positions, please let me know or email info@makersmiths.org.
Happy Making!
John Dubelko President
|
|
|
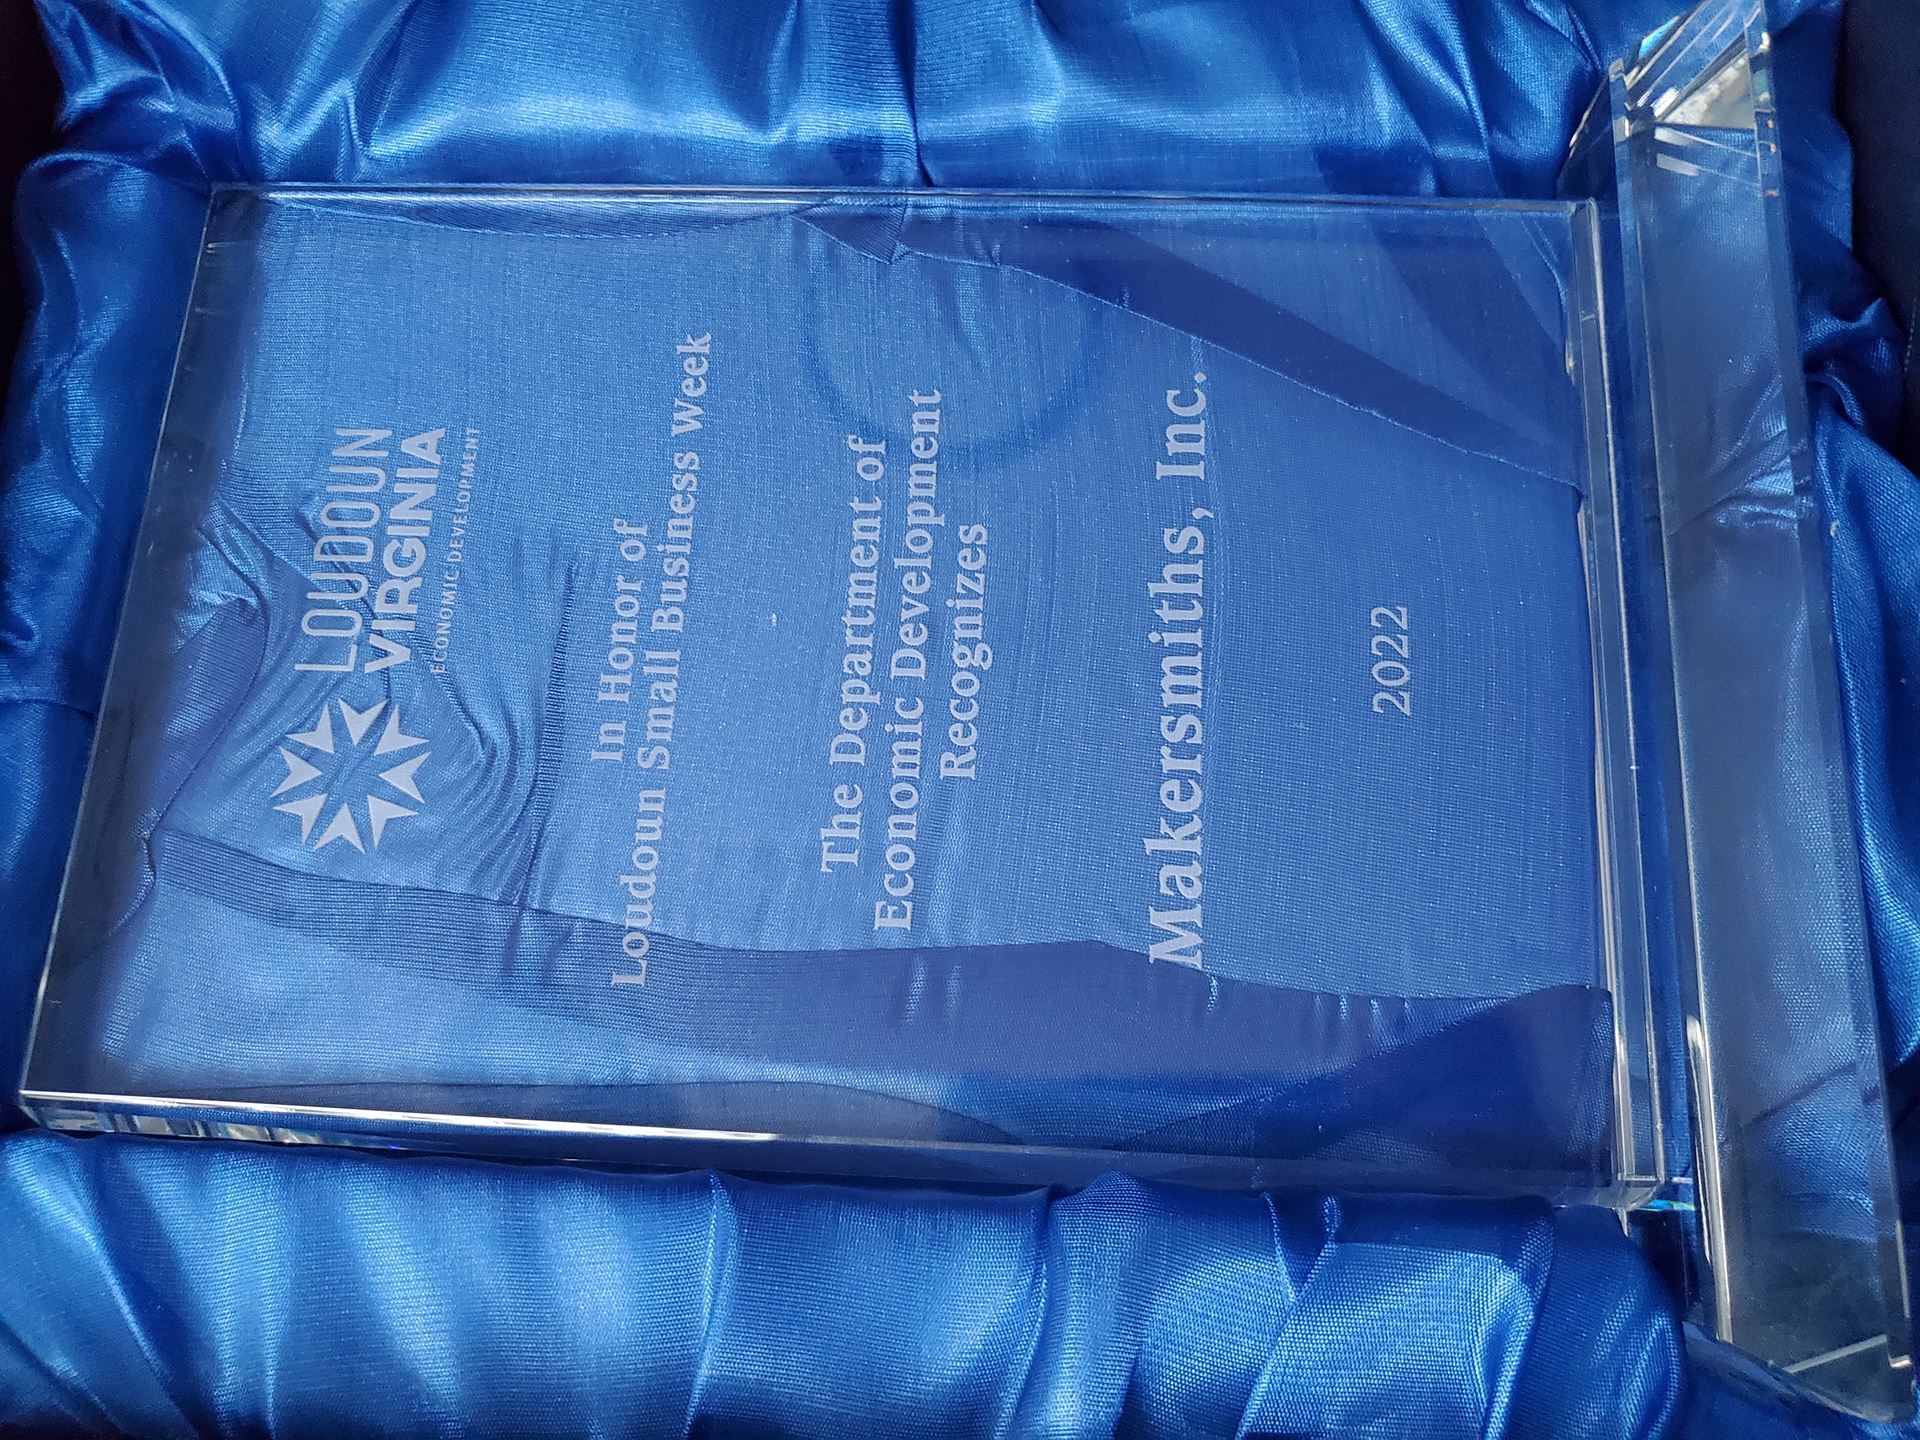
Loudoun Department of Economic DevelopmentComes to MS-P
|
|
|
As part of Small Business Week, the Department of Economic Development sponsored an event at MS-Purcellville |
|
|
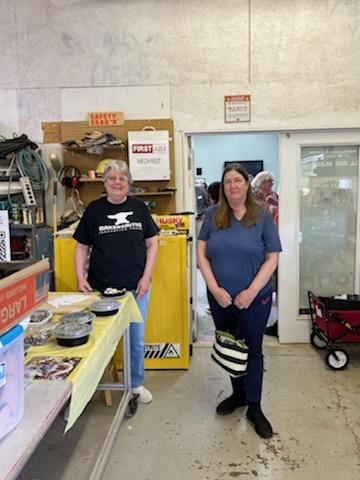
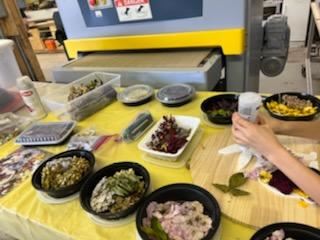
Diane Painter demonstrated her dried flower crafts and showed off the winning Kid Wind projects supported by Makersmith's Education Initiative |
|
|
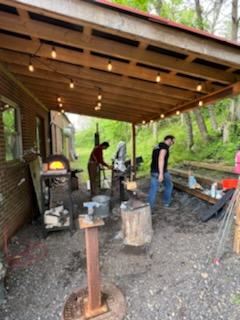
One of the many classes you can find at Makersmiths! |
|
|
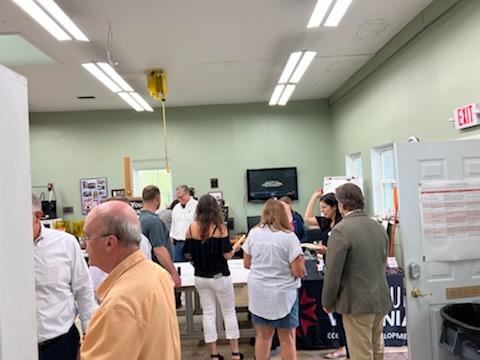
Meet and Greet in the Green Classroom |
|
|
Board of Supervisors representative Tony Buffington presenting the recognition plaque to President John Dubelko |
|
|
Popular class at MS-P, Blacksmithing! |
|
|
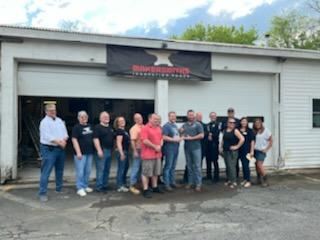
It was also a Member Meeting Night, the first in-person meeting in...a long time |
|
|
Examples of things that can be made at both our locations. The event was well attended and definitely generated interest! |
|
|
|
|
Education Initiative
Diane Painter
On Tuesday June 14 at 7pm the Town of Purcellville’s Town Council will recognize the Makersmiths’ KidWind Silver Blades wind turbine team as Virtual National Champions and the Solar Middle School Smarties solar team for being the Virginia State solar champion. We are so proud of our teams! |
|
|
Purcellville July 4th Parade FloatsTom Hill
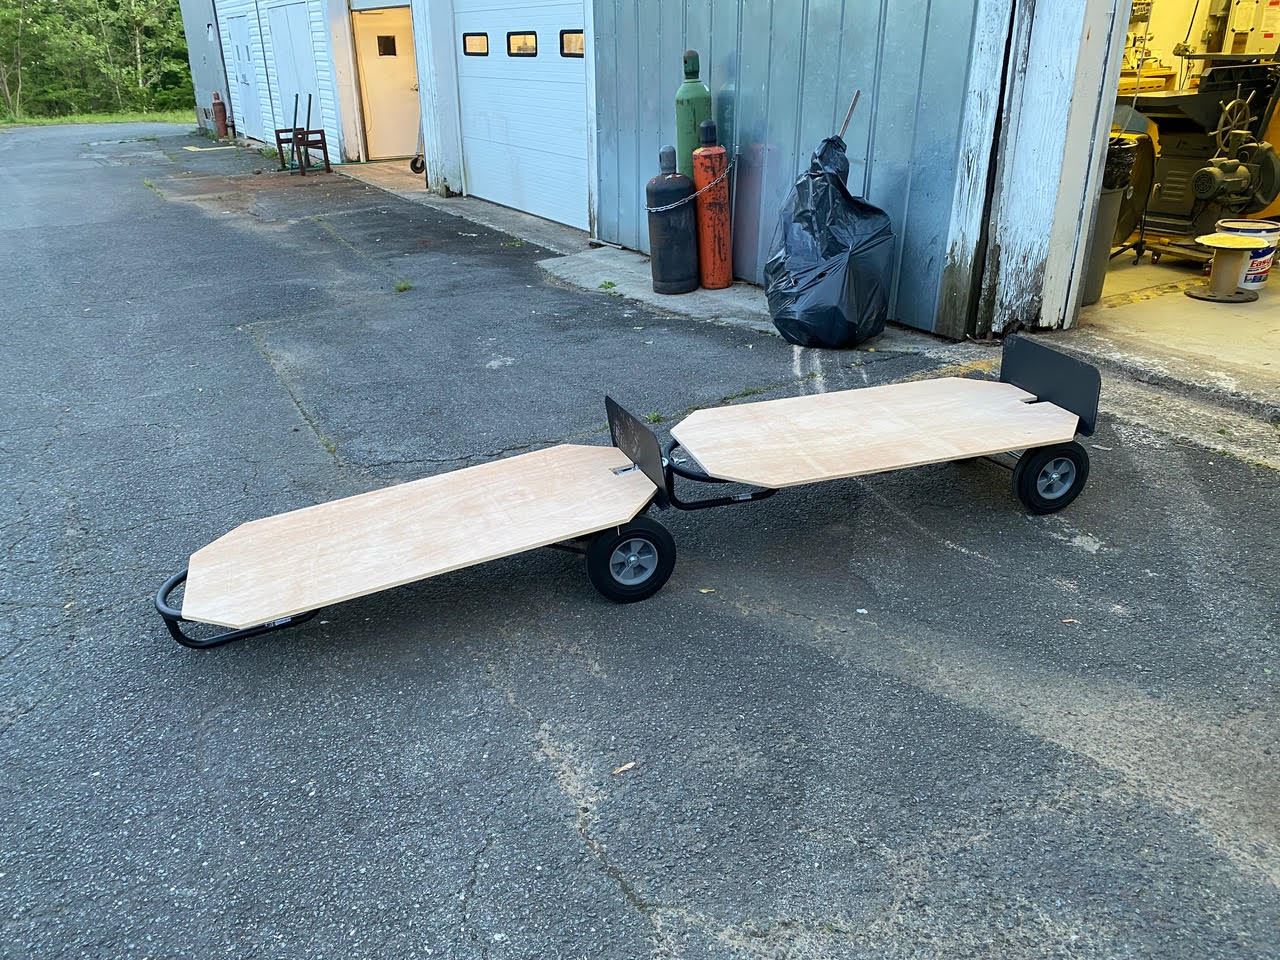
Makersmiths will return to the Purcellville 4th of July Parade for 2022. In an effort to pay homage to our previous barrel-train float idea, while cutting down on the storage difficulties it provided, we will again use handcarts to create ‘floats’ and tow them through town. The floats will not hold people, and will be taken apart by the people who put them together.
At press time, the town hasn’t announced the parade theme. Makersmiths’ floats will be focused on what people have made at our maker space. Currently, we have four floats being built, but we could have more if others are interested. Contact Tom Hill or Diane Painter if you’d like to make one.
Each float will be made from a Harbor Freight hand cart that’s turned on its side and had a steel eye screw mounted through the top handle and the bottom platform. They’ll be connected with master chain links and towed behind a tractor…either one owned by a member (interested? Contact Tom Hill) or Purcellville’s lawn tractor. We’re also in contact with our cosplayers to see if they’re interested in marching.
We know the content of two floats at this time. Tom Hill will be displaying things he’s made with the CnC, and Diane Painter will help the Kidwind competitors display parts of their award-winning submissions. Each person making a float is given a 2x4’ piece of plywood to build their display on. The plywood will then be mounted on the hand carts before the parade and we will show off what makers can do!
Details of day-of preparation and for the parade itself will come later. We expect there to be some work required the night of July 3rd, and pre-positioning required on the morning of July 4th.
After the parade, floats will be broken down for easy storage. Each person who makes a float will be asked to take their hand cart home. They can be reassembled for future parades as needed. |
|
|
2022 blank slate handcarts, only awaiting your maker imagination and creativity to become a float! |
|
|
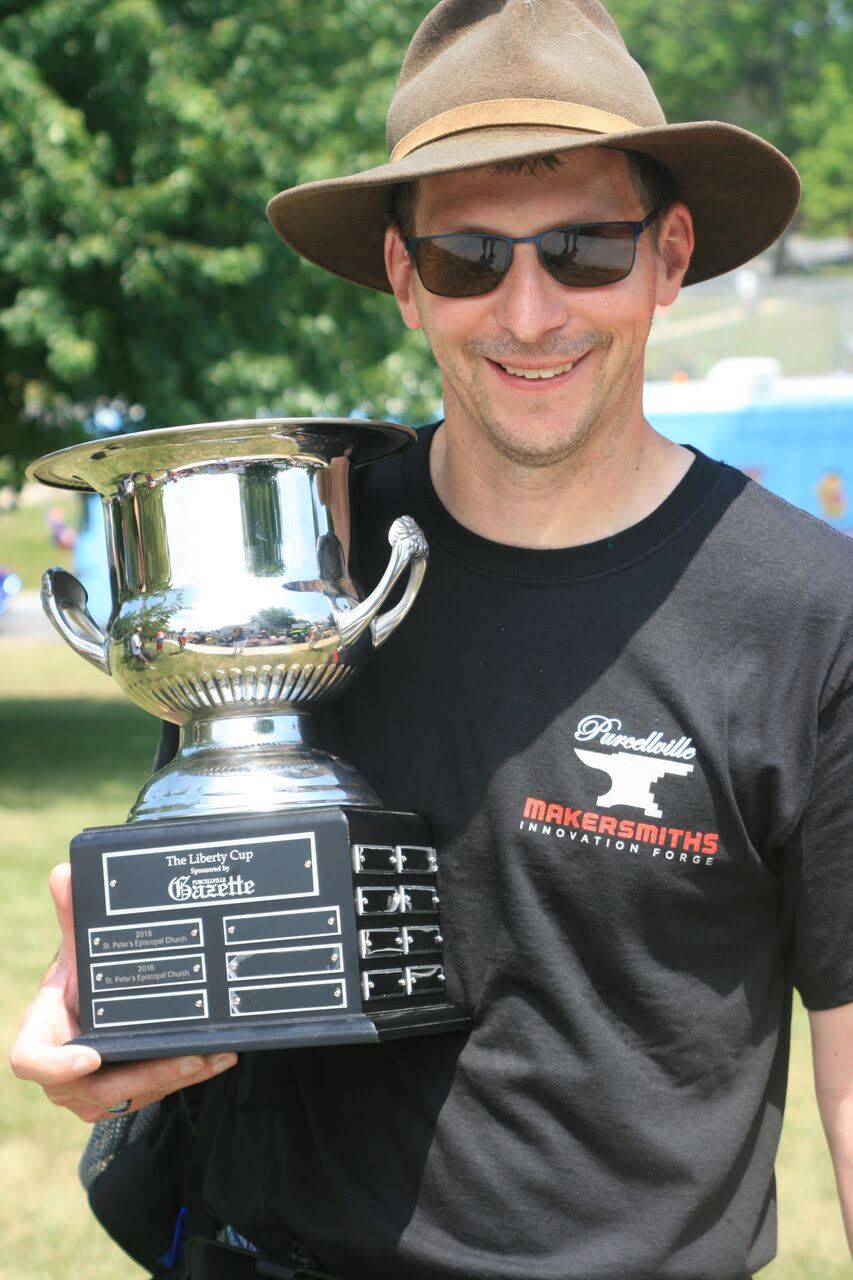
Tom Hill with the 2017 trophy - no pressure, folks! |
|
|
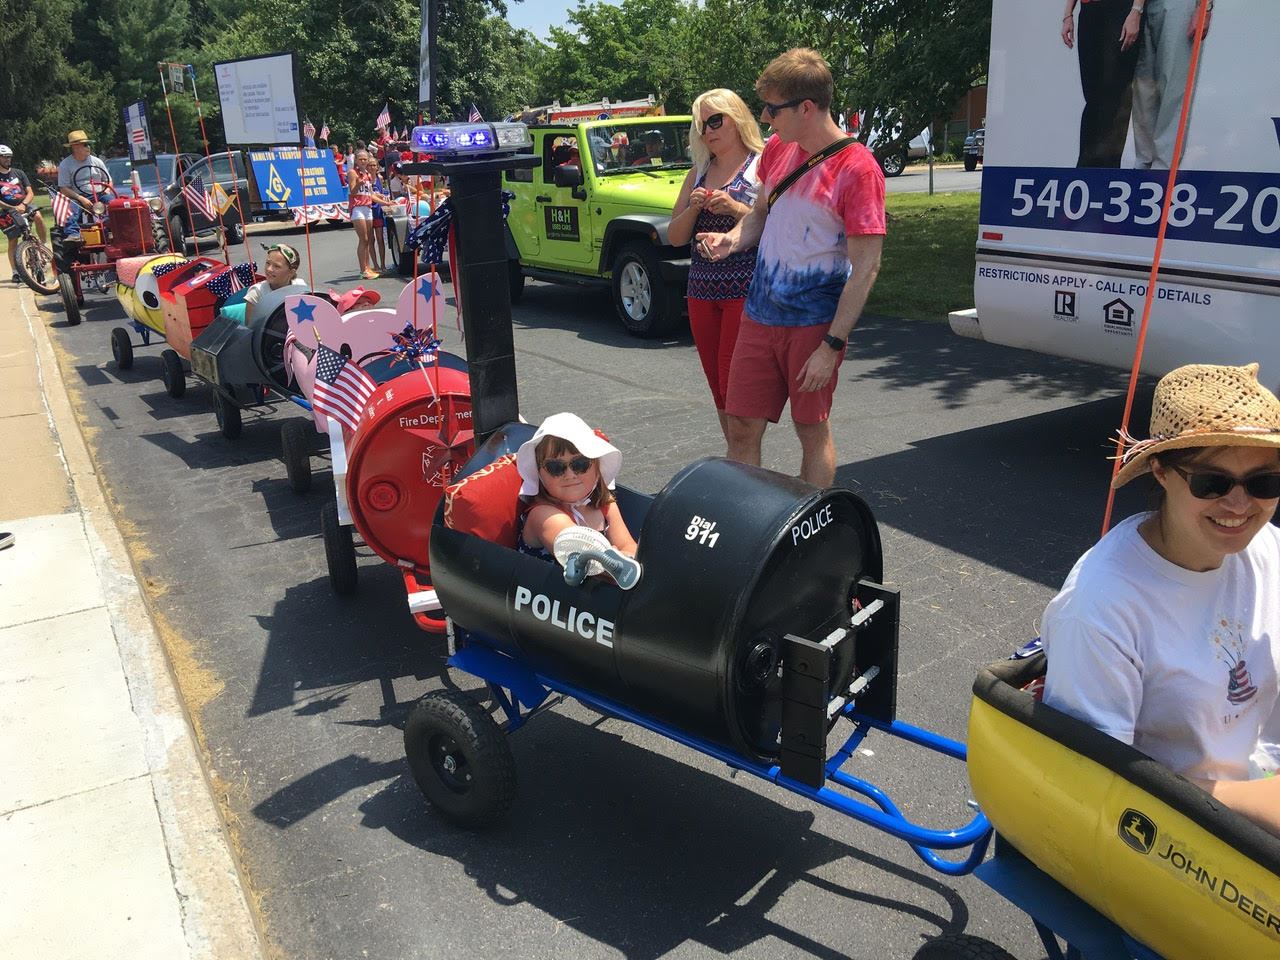
The 2017 Barrel Train, ready to roll. Where are they now? |
|
|
|
|
|
|
Hidden GemParker Brainard
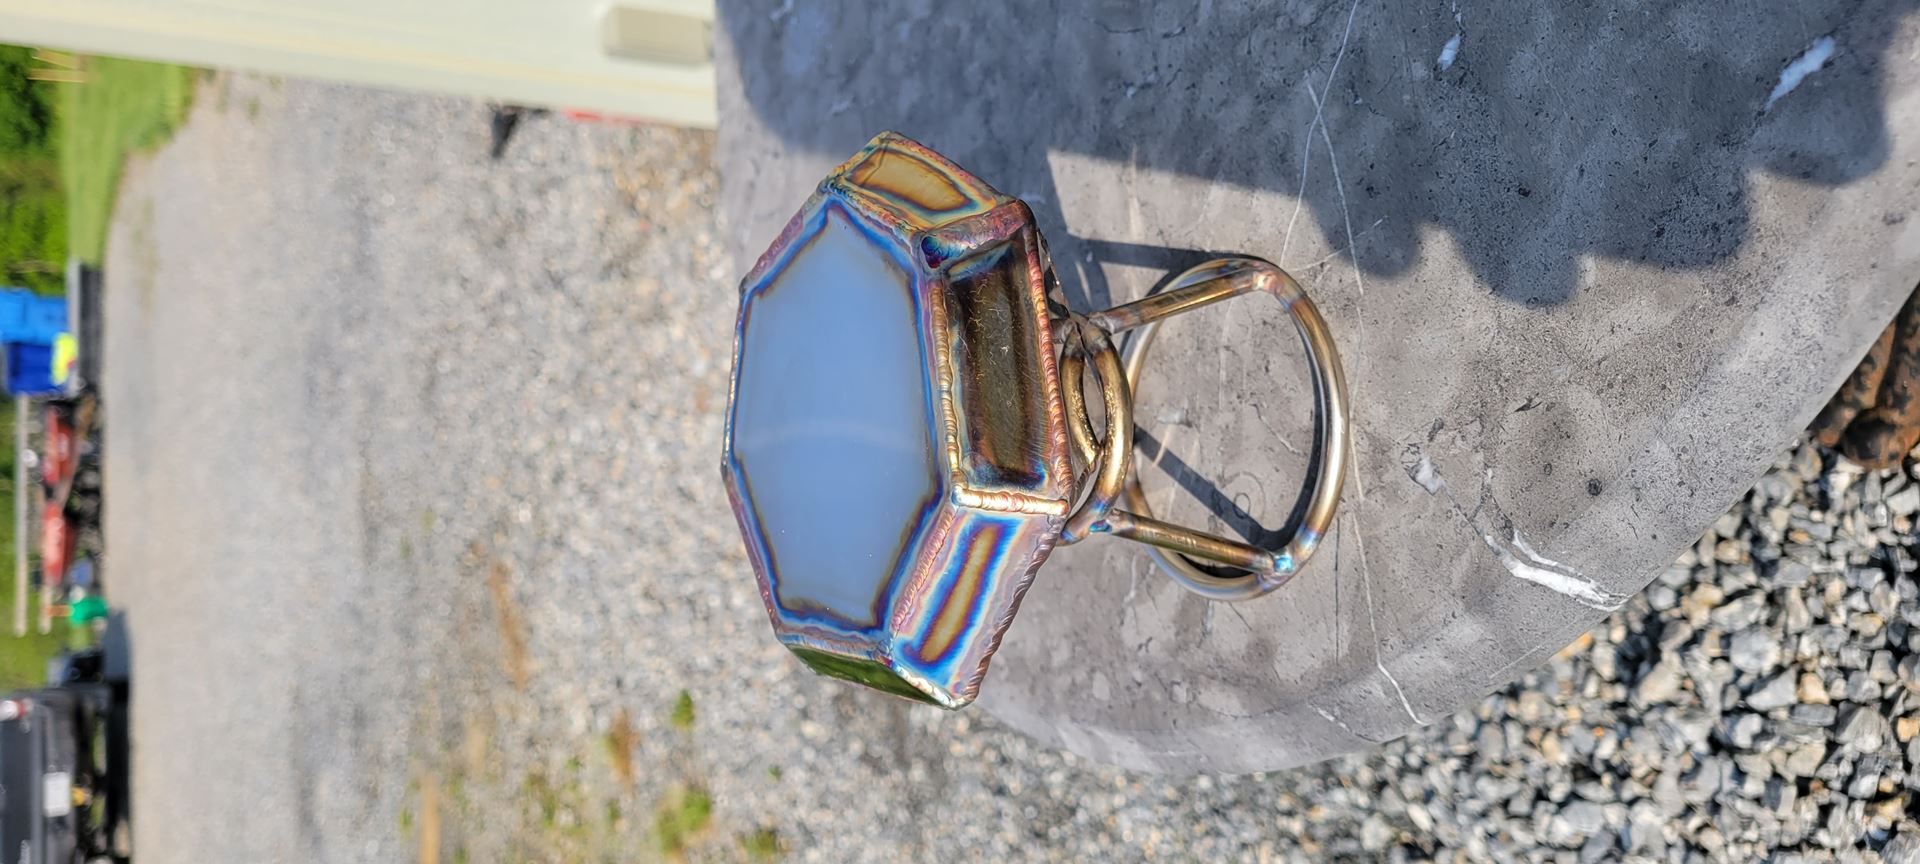
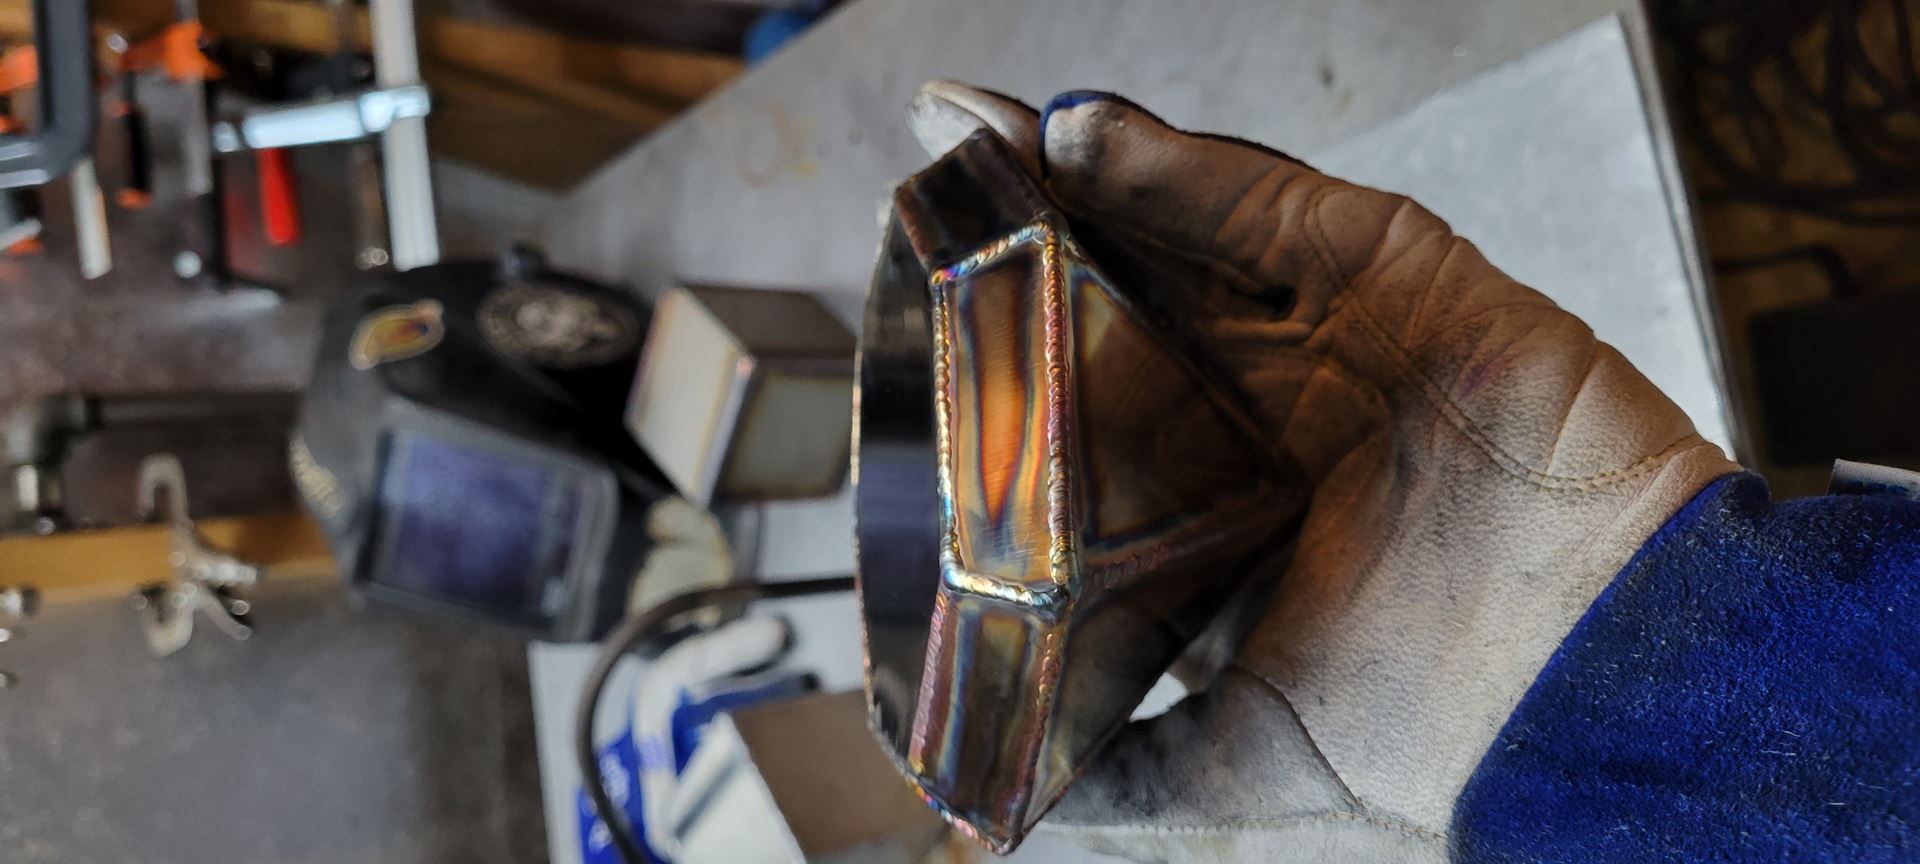
A while back, a friend sent me a video of someone TIG welding stainless steel into a gemstone, shaped like what you might imagine on a cartoonishly large piece of jewelery, or a collectable item in a video game. They then polished it to a mirror finish. Naturally, I wanted to give it a try -- but with a slight twist: I was going to polish it first, and hope the colorful oxides that form during welding would look neat with the high-shine surface.
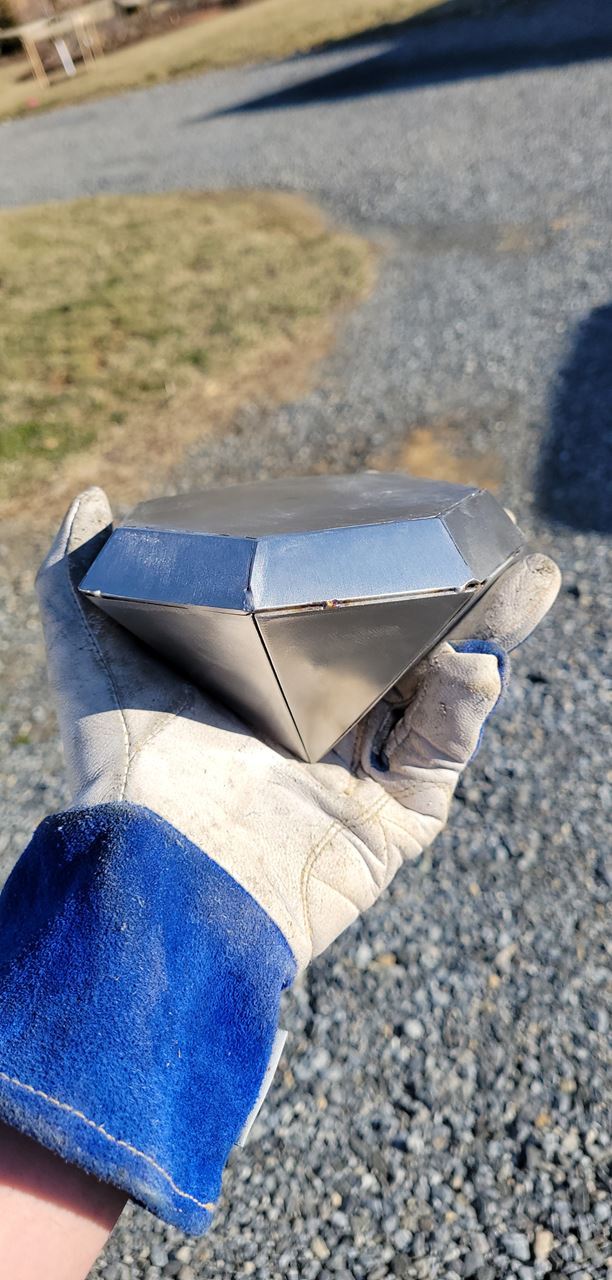
Material: As luck would have it, a whole bunch of 14ga 304L stainless sheet had fallen off a truck directly into the scrap bin at work, so I dutifully cleaned up the mess and got to work. The geometry: the large face of the part in the video had 7 sides, so I replicated that. All other dimensions were selected arbitrarily. The height and width of the trapezoidal crown pieces would determine the angle they protruded at, and similarly, the height of the triangular pieces would determine the angle they would converge on to a point. I could've done some trigonometry had I wanted to go for a specific shape, but as I was feeling lazy I just pulled some numbers out of the ether that sounded good and were conducive to easy fabrication. As long as the edge length of the septagon matched the medium edges of the trapezoidal pieces and the long edges of those matched the bases of the triangular ones, everything would be gravy.
Hands-on: Using a straight edge and a protractor, I laid out those shapes on some cardstock, then cut them out and used them as stencils to mark out one septagon, seven trapezoids, and seven triangles on the sheet stock. The shapes were then cut out with a hydraulic notcher. For future projects or anything with more complicated geometry, I might use a vertical band saw.
The Stand was made from 1/4" stainless rod that also fell off a truck (really! the luck!) and 3 short straight pieces and 2 rings that were made by hand-bending the rod around some larger round bar.
On the welding bench: I used my TIG welder to tack weld the 7 triangles together along their long edges, letting the distortion draw the pieces upward as the welds cooled, and giving the tacks a gentle bend to approximate the pyramid shape I would need. I repeated the process with the remaining pieces, tacking the top edges of the trapezoids to the large face, but leaving the short sides loose so they could be fudged a bit if need be. Once I had the two halves, I started working around the perimeter, tacking them together and squeezing the pieces into as good of a fit as I could manage.
For the shine: Once I was happy with the fit-up, I broke out my angle grinder and knocked down any tacks that stood proud of the joints, then switched to a backing pad and hit it with ascending grades of surface conditioning discs (think Scotch-Brite.) Now it was time to break out the elbow grease. The entire thing was wet sanded, starting with 600 grit sandpaper and working up to a 5000 grit finishing pad. I want to thank my friend MJ for so graciously offering to tackle that while I worked on the aluminum soccer ball project some of you have seen. Once the hard work was taken care of, I stepped back in with a cotton buffing wheel on the angle grinder and some polishing compound to bring it all home.
Prep for Welding: Now that the gemstone had a near-mirror finish, I washed it with soap and water, then blasted it with compressed air and left it to dry. After donning some rubber gloves as to not leave greasy fingerprints that could burn onto the surface, I wiped it down with acetone and again blew everything out with an airgun to make sure there weren't any contaminants still hidden in the joints.
Welding was a little tricky at first; it was difficult to rest the piece securely where the weld would be in a convenient place. I was a little too distracted with that and trying not to overcook the welds, so they're not the prettiest beads I've ever laid, but hey, likely story, right? I made the mistake of starting at the widest section and welding "uphill" to the point on the bottom. This meant that as I got closer to the tip, the puddle was good and hot, the surrounding material was heating up, and the amount of heat-sinking it could do was getting less and less. On a few faces, I blew through right at the end. I fixed that later by just going around in a spiral and building up/filling material with a very light foot on the pedal. Other than that, I just kept progressing along, playing with different techniques like pulsing and laywire, letting the piece cool between welds, and trying not to rush. Once I was done welding... the piece was finished! No post-processing or cleanup, just trying to get as good of photos as I could to post online. I had a lot of fun with this one and definitely picked up some little skills and knowledge that I'm sure will come in handy next time something falls off a passing truck. |
|
|
|
|
|
|
|
|
|
|
|
|
Makers Making!You can do this, too |
|
|
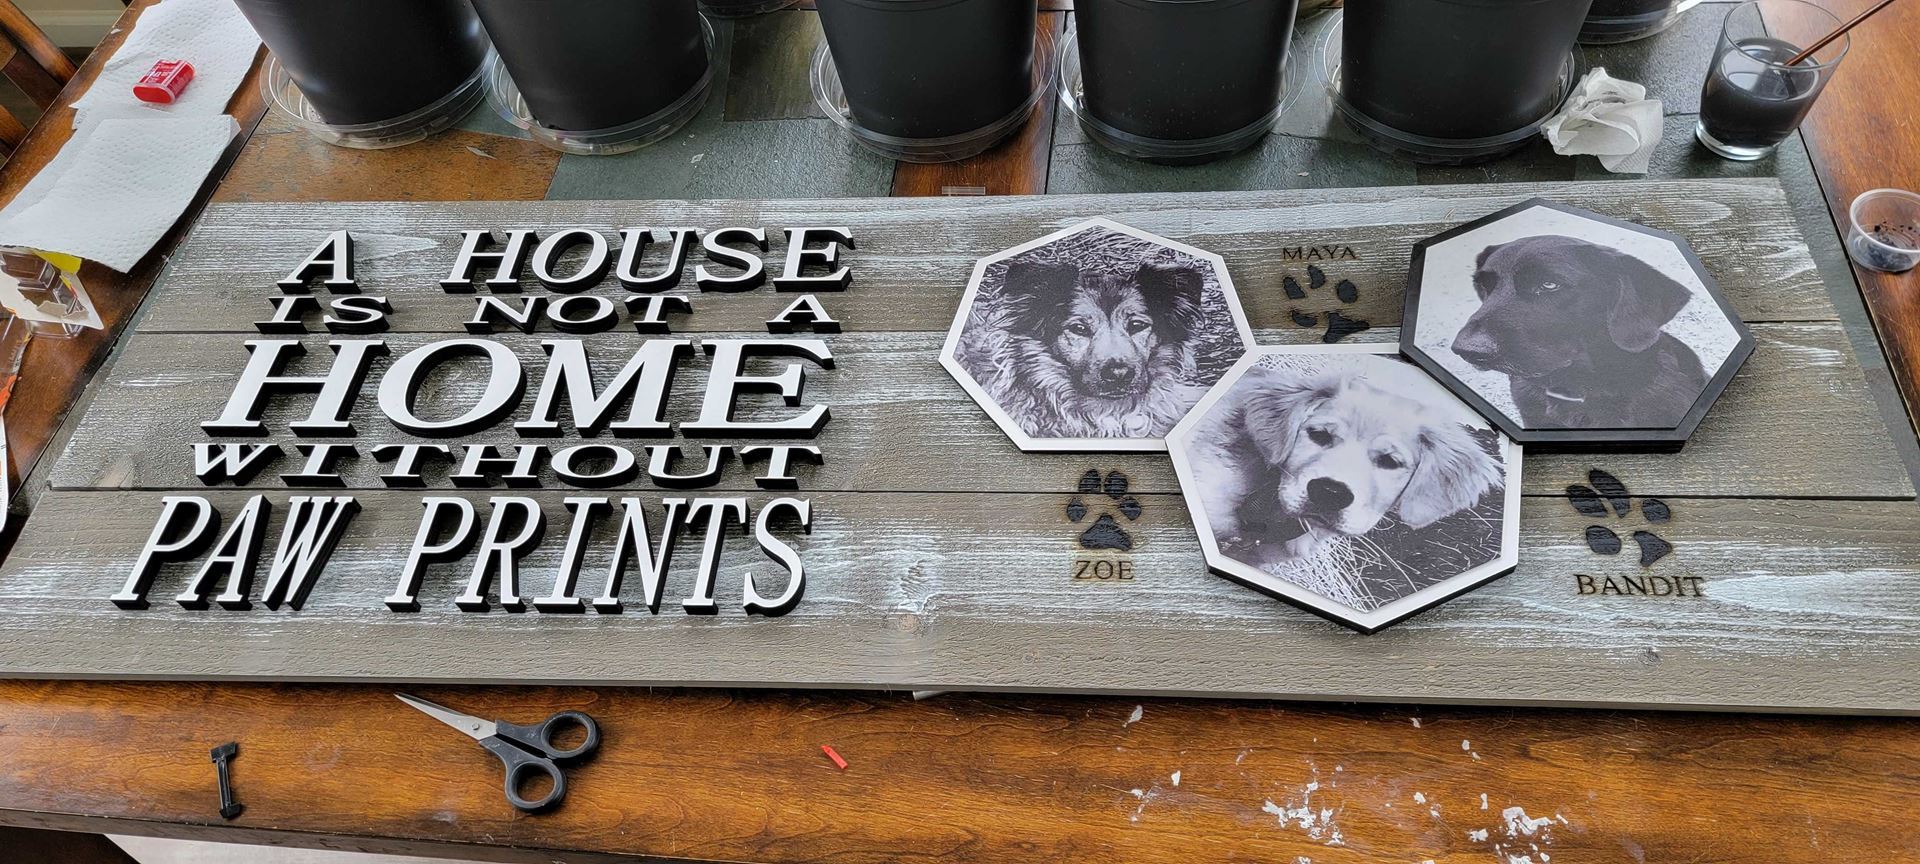
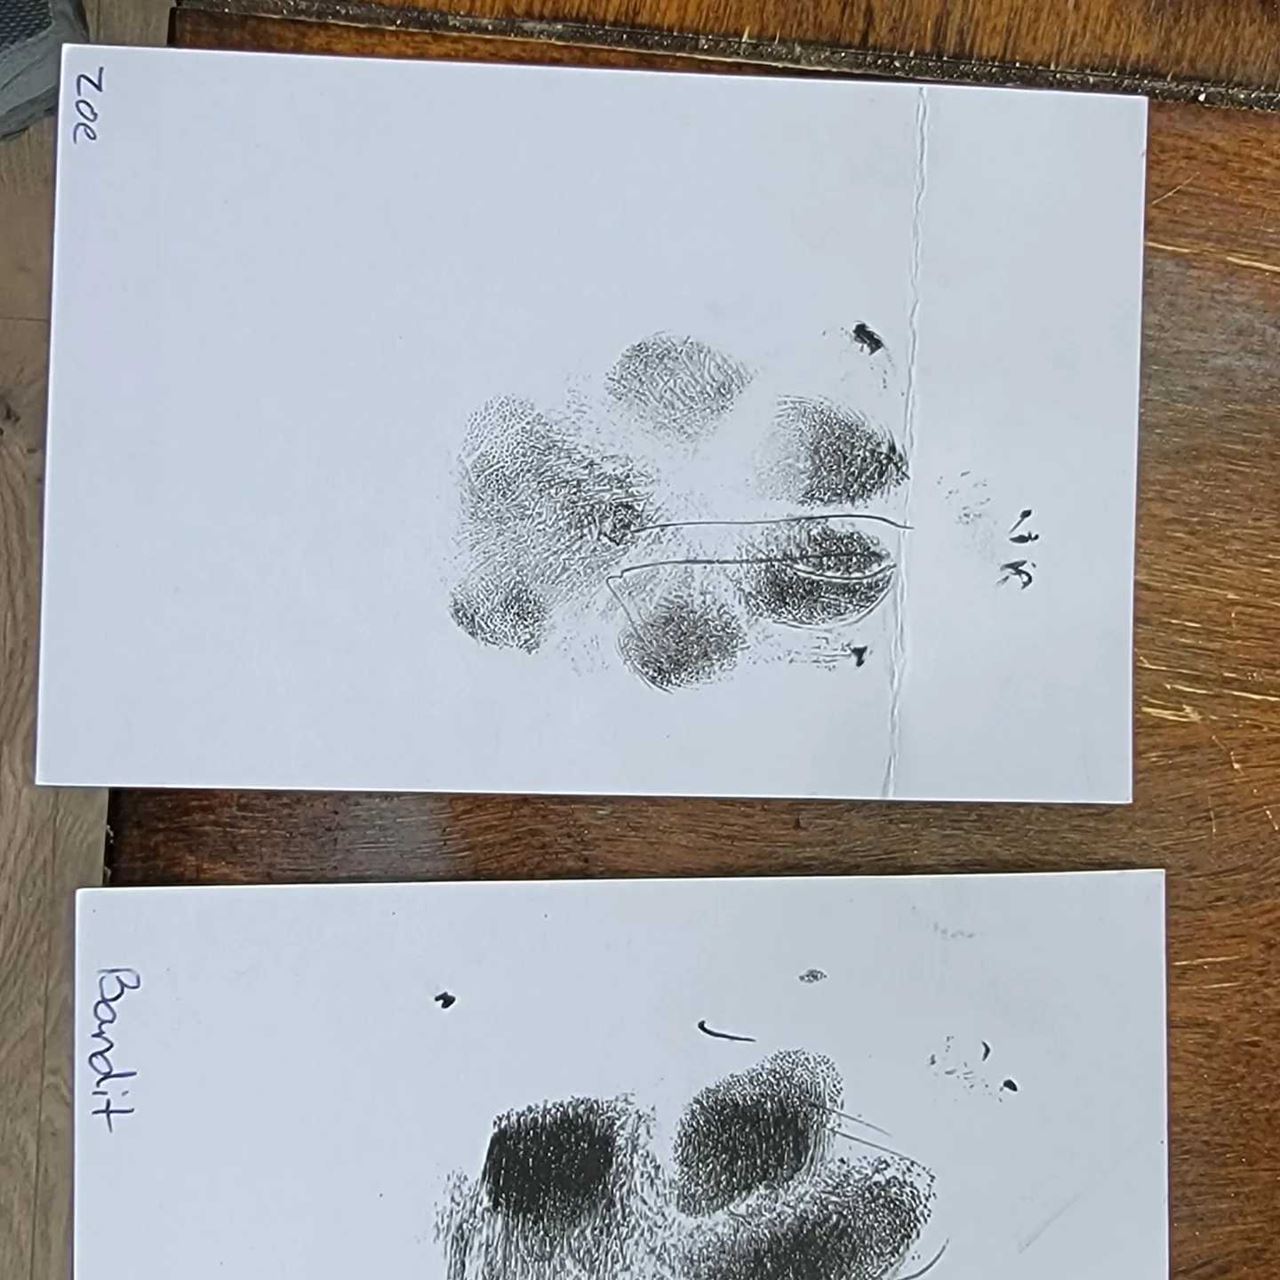
Want to add personalized prints to your next laser project? Member Ryan Gould has a few tips!
Ryan used an Inkless Paw Print Kit from Amazon to safely acquire the originals, following product directions. Placing the card stock (measured, of course) with the paw prints onto a dark surface, you then take a photo using your cell phone camera, carefully ensuring the camera on your phone is level with the surface and centered directly above the card stock. Hint: the edges of the card stock will be square within the border of the phone photo preview. In any CAD or Vector software, you can create a virtual work surface the size of the previously measured card stock and import the image. Hint: lock your X Y so you can resize the photo to exactly fit the virtual work surface without distorting your image. Use the bitmap tracing tool or equivalent to vectorize the paw print. Depending on the level of definition of your original, you may need to use drawing tools in the software to fill out the image. |
|
|
|
|
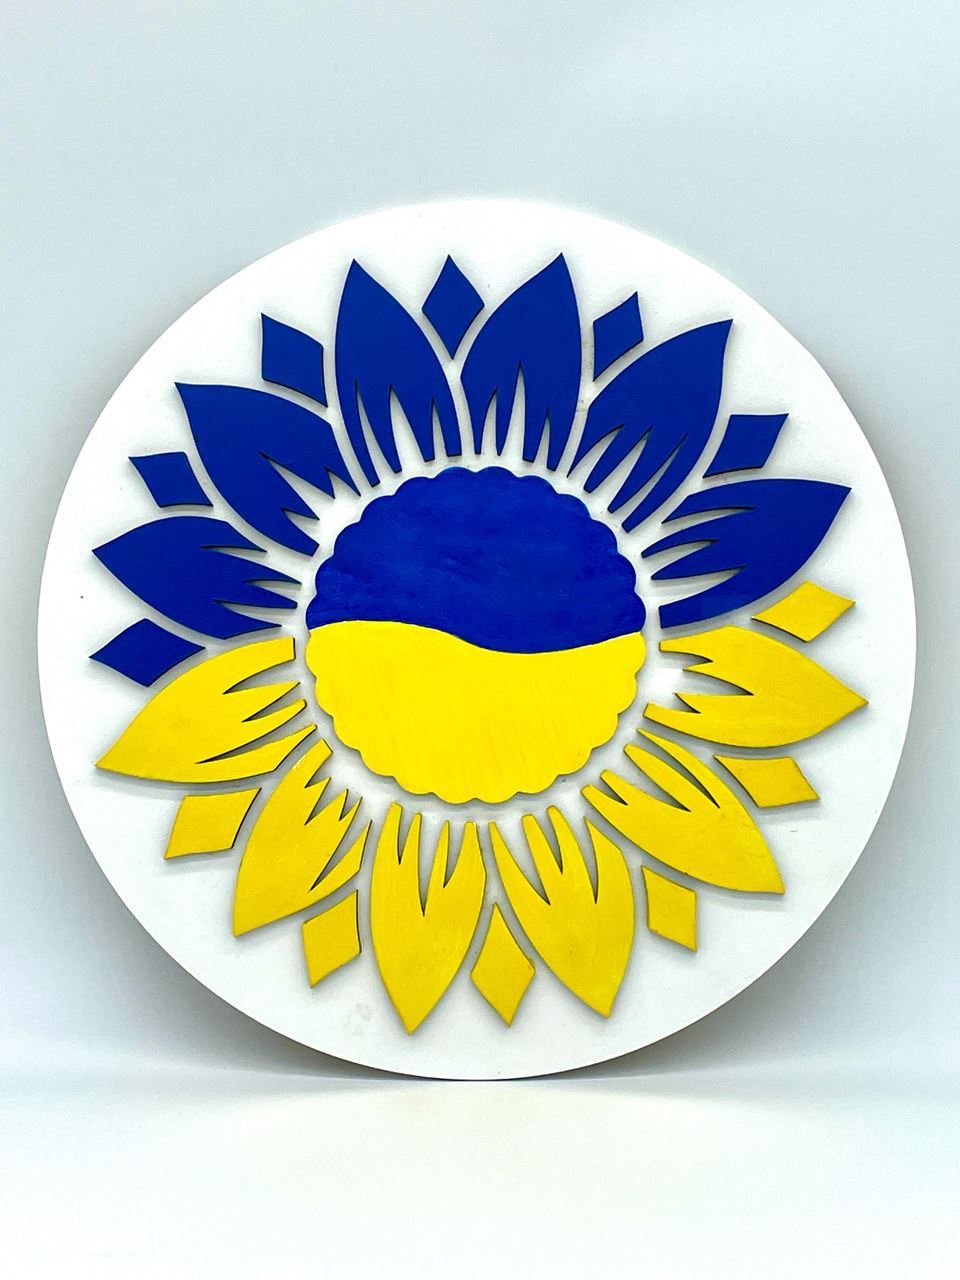
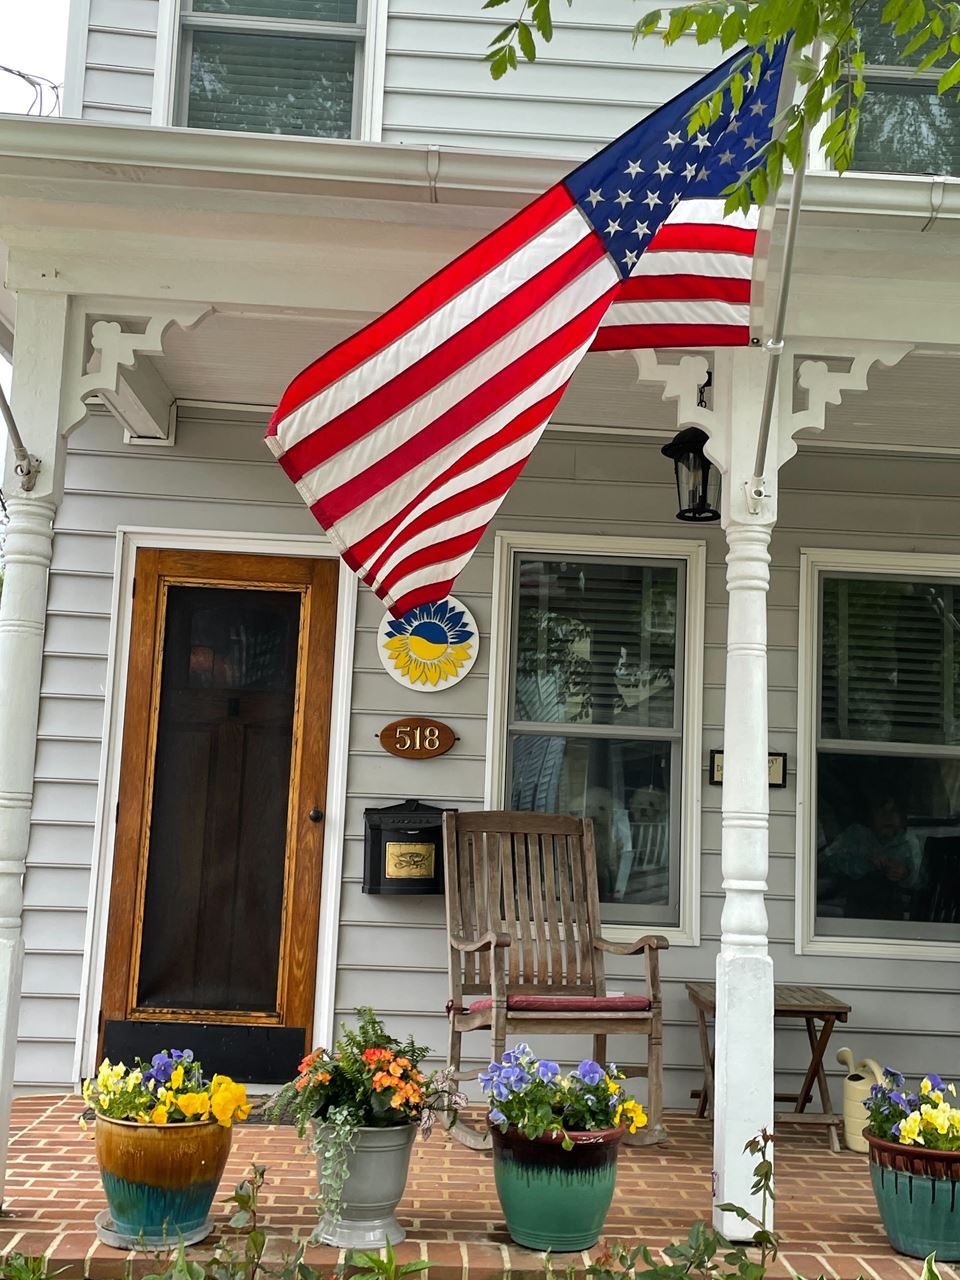
Member Kristina Rall wanted to make a sunflower with Ukraine colors for her Mom's front porch. She purchased the design file from an Etsy maker and set to work, using baltic birch on the laser cutter. Covering the wood with contact paper kept the scorch factor down and she used Orange Goop waterless hand soap to remove the marks that did get through. While this version was hand painted, Kristina said she would prefer to spray paint future sunflowers. Great tip - she was able to secure the pieces down so perfectly (3M tape, fyi) by using the laser cut out as a template, laying it on the white circle and inserting the pieces like a puzzle. Don't throw those bits away until you know you won't need them! The white circle was cut with a 1/4" upcut on her router and a homemade circle jig. She sealed the whole project with glossy Modge Podge spray, attached a hanging wire, and done. What a great addition to the porch. |
|
|
|
|
Did you know...Makersmiths has a blog on their home page? Makersmiths is on Instagram? Makersmiths has a YouTube page? You can support Makersmiths using Amazon Smile for your purchases?
|
|
|
|
|
Upcoming ClassesMakersmiths is run by volunteers - you, too, can become an
instructor and increase the number of class times we offer! |
|
|
MS-LAdv Laser Cutting Rotary Tool - 6/4 Big Red CnC Operation - 6/8 Electronics Night - 6/9, 6/23
|
|
MS-PBlacksmith Red Tool - 6/4 Beginner Gas Welding - 6/5, 6/5 Red Tool Woodworking Basics - 6/9, 6/15 Adv Red Tool Woodworking - 6/12 Learn to Create Homemade Soaps - 6/26 As always, check the calendar for additional classes
|
|
|
|
Board/Officer Name
|
Position
|
Term
|
|
Brad Hess
|
Board Member
|
2019-2022
|
|
Bev Murdock
|
Board Member
|
2021-2024
|
|
Dave Painter
|
Board Member/Chairperson
|
2020-2023
|
|
James Waldron
|
Board Member
|
2019-2022
|
|
Jonathan White
|
Board Member/Secretary
|
202-2023
|
|
Scott Newman
|
Board Member
|
2021-2024
|
|
Mike DeWan
|
Board Member
|
2021-2024
|
|
John Dubelko
|
President
|
2020-2022
|
|
Mary Waldron
|
Treasurer
|
2020-2022
|
|
|
|
|
Makersmiths Leesburg: 106 Royal St SW, Leesburg, VA 20175 Makersmiths Purcellville: 785 S. 20th St, Purcellville, VA 20132 Unsubscribe |
|
|
|