President's Message
John Dubelko
Greetings Members,
Over the last few months, Dean Williamson has been looking into our red tool certifications. I am happy to report we now have a process for recording red tool certifications in membership records. This information will be critical as we look at ways to automate machine access, offer more classes, and make investments in our makerspace. I want to thank Dean for his efforts on this!
As part of Dean’s work, we found that several members have not taken new member orientation. Sessions are held virtually on Monday nights. The most significant benefit of this training is that members can get 24/7 access to both locations. This training is the best way to learn how the organization works. I encourage you to take this training if you have not already.
Lastly, I have heard that there may be members without Slack accounts. This member benefit will allow you to find out what is going on across the organization. Worried about how the road is after it snows in Purcellville, check out the Purcellville channel. Want to know the best way to etch metal on the laser cutter? Go to the #lasercutter channel. Is a machine down? Check out the #maintenance channel. Want to see what members are making? See the #whatcha_make_today channel. Need some cash? Check out #hire_a_maker or post in the #for_sale. There is a collaboration channel for just about everything. If you need an account, email info@makersmith.org and we will get you set up.
Happy Making!
John Dubelko
President
|
|
|
Chairman's Statement
Dave Painter
As we begin a new year of Maker fun, we must confront the reality that the machines we enjoy using so much require maintenance to continue working. Our increased membership numbers and the annual pre-Christmas building boom have meant heavy tool usage. As a result, we need to perform some in-depth maintenance to ensure the tools you like to use are ready for you and your next project.
Unfortunately, maintenance takes time and this means some machines may not be available when you expect them to be and in a few cases a machine may be unavailable for an extended period while we wait for parts. Starting in February, we will be concentrating on our wood working machines. As we schedule maintenance, we will post to the wood working channel in Slack to let you know when and about how long a particular tool will be unavailable. When a machine will be down for an extended time we will also post an estimate of how long we think it will take to get parts. Please check the wood working channel to make certain that the tool you are planning to use is not out of service before you make a wasted trip. Mike Dewan, the Leesburg wood shop steward, and I will be working closely together to be sure we avoid scheduling maintenance on the same type of tool in both locations at the same time.
Don’t forget - this Saturday, February 5th, you have two great opportunities to support Makersmiths by volunteering your time;
The Leesburg woodworking shop will be a busy place as Mike Dewan and his volunteers work to reconfigure what used to be the bathroom to install a larger dust collector and add a large slop sink.
The monthly work day in Purcellville kicks off at 9:AM and as usual we have a list of tasks that require your attention. |
|
|
How I Built This: end-grain cutting boardsJohn Borden |
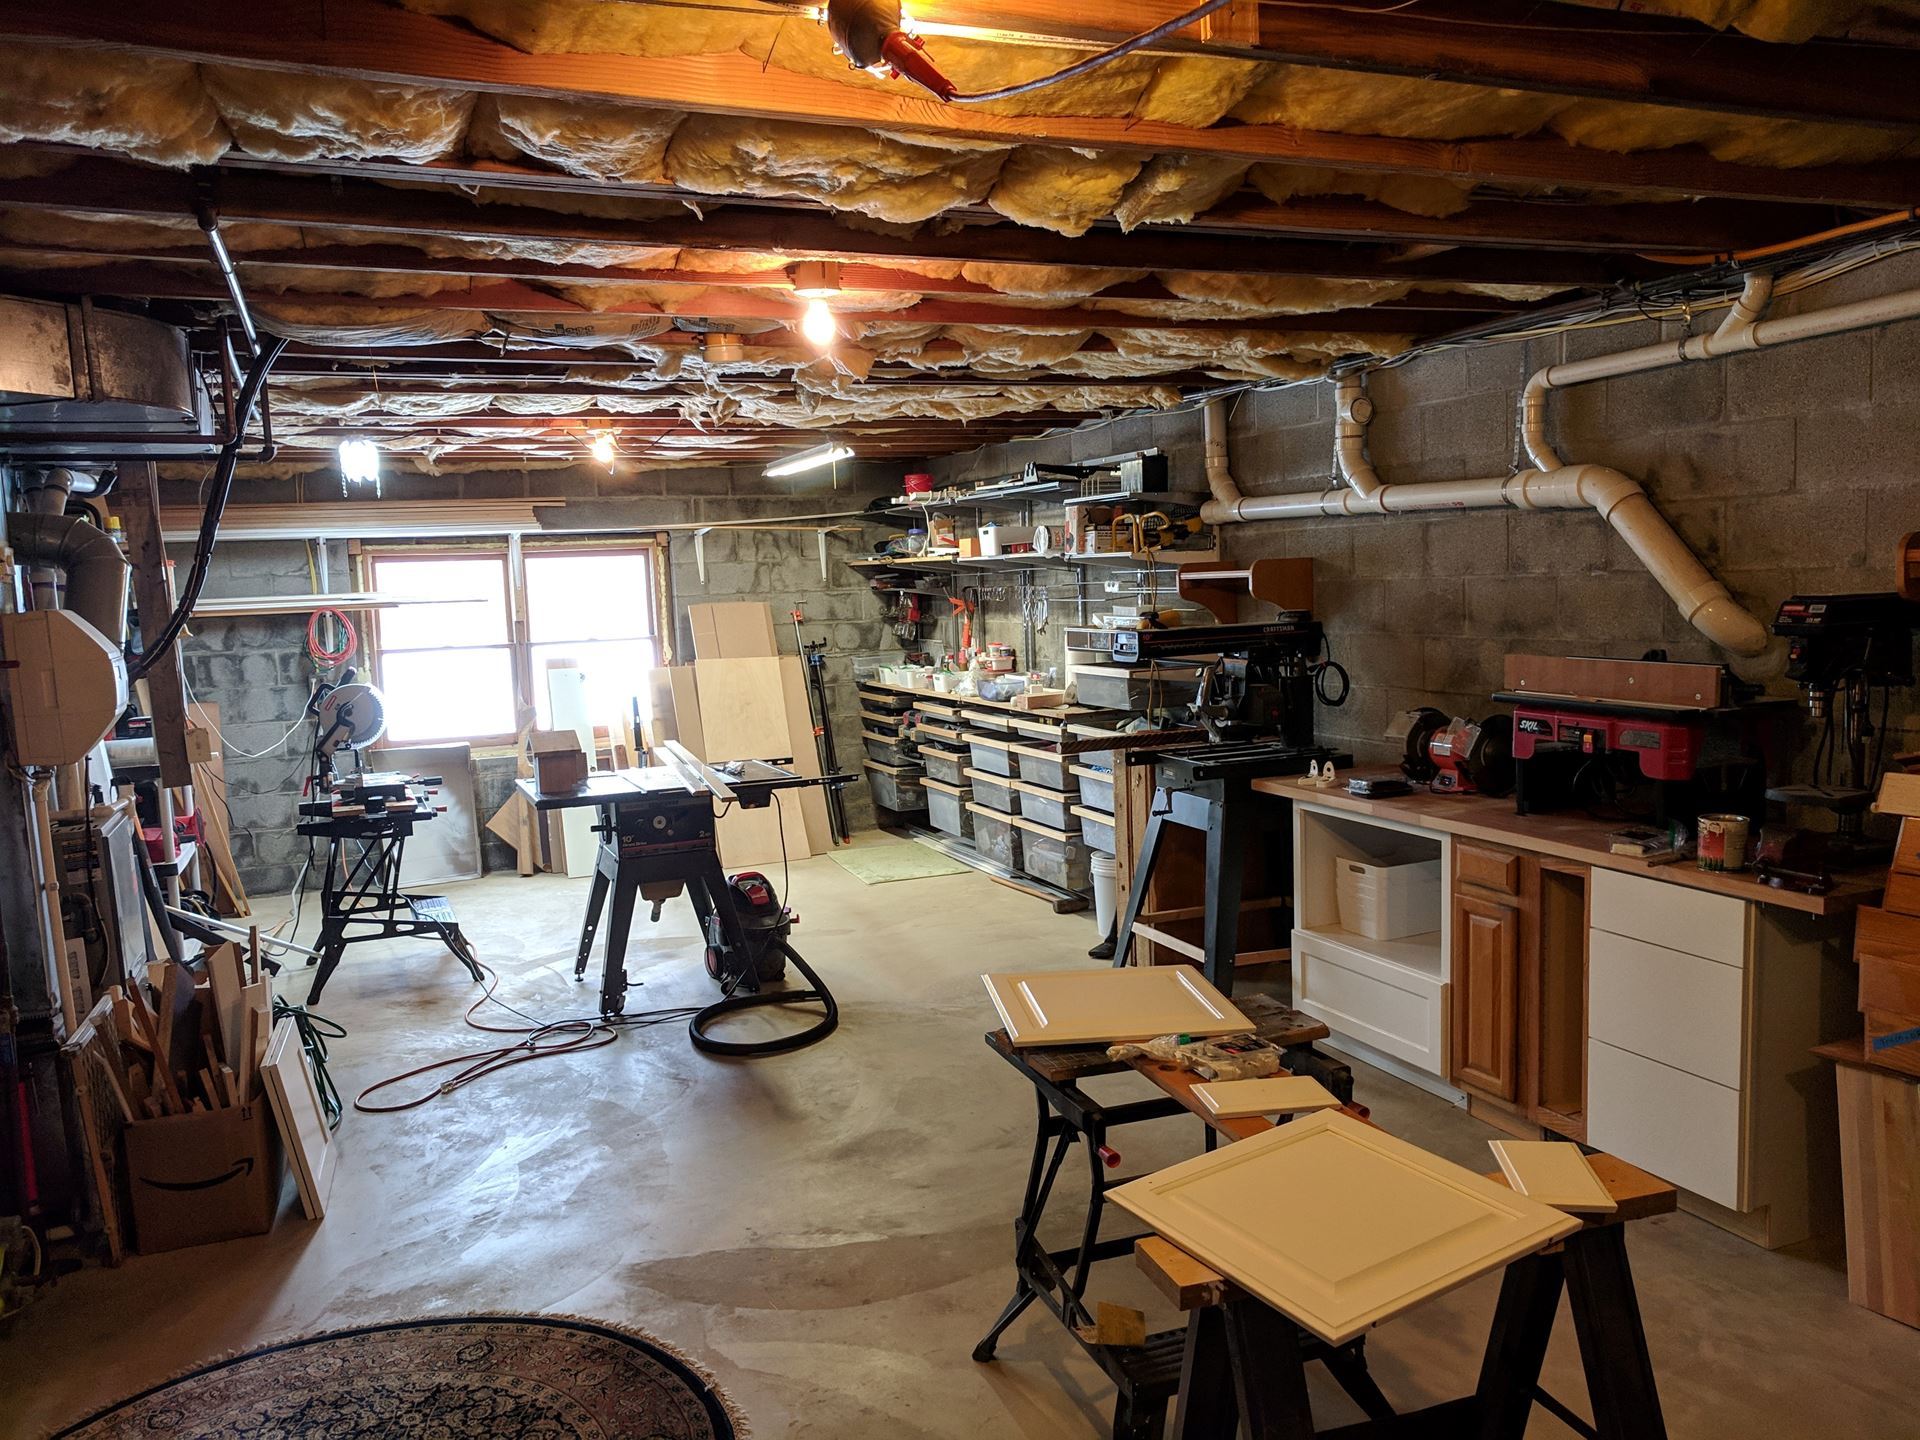
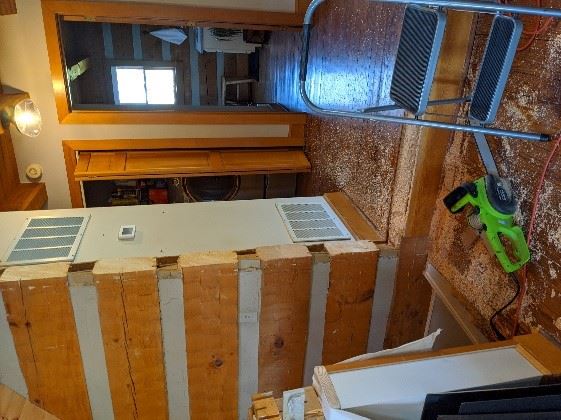
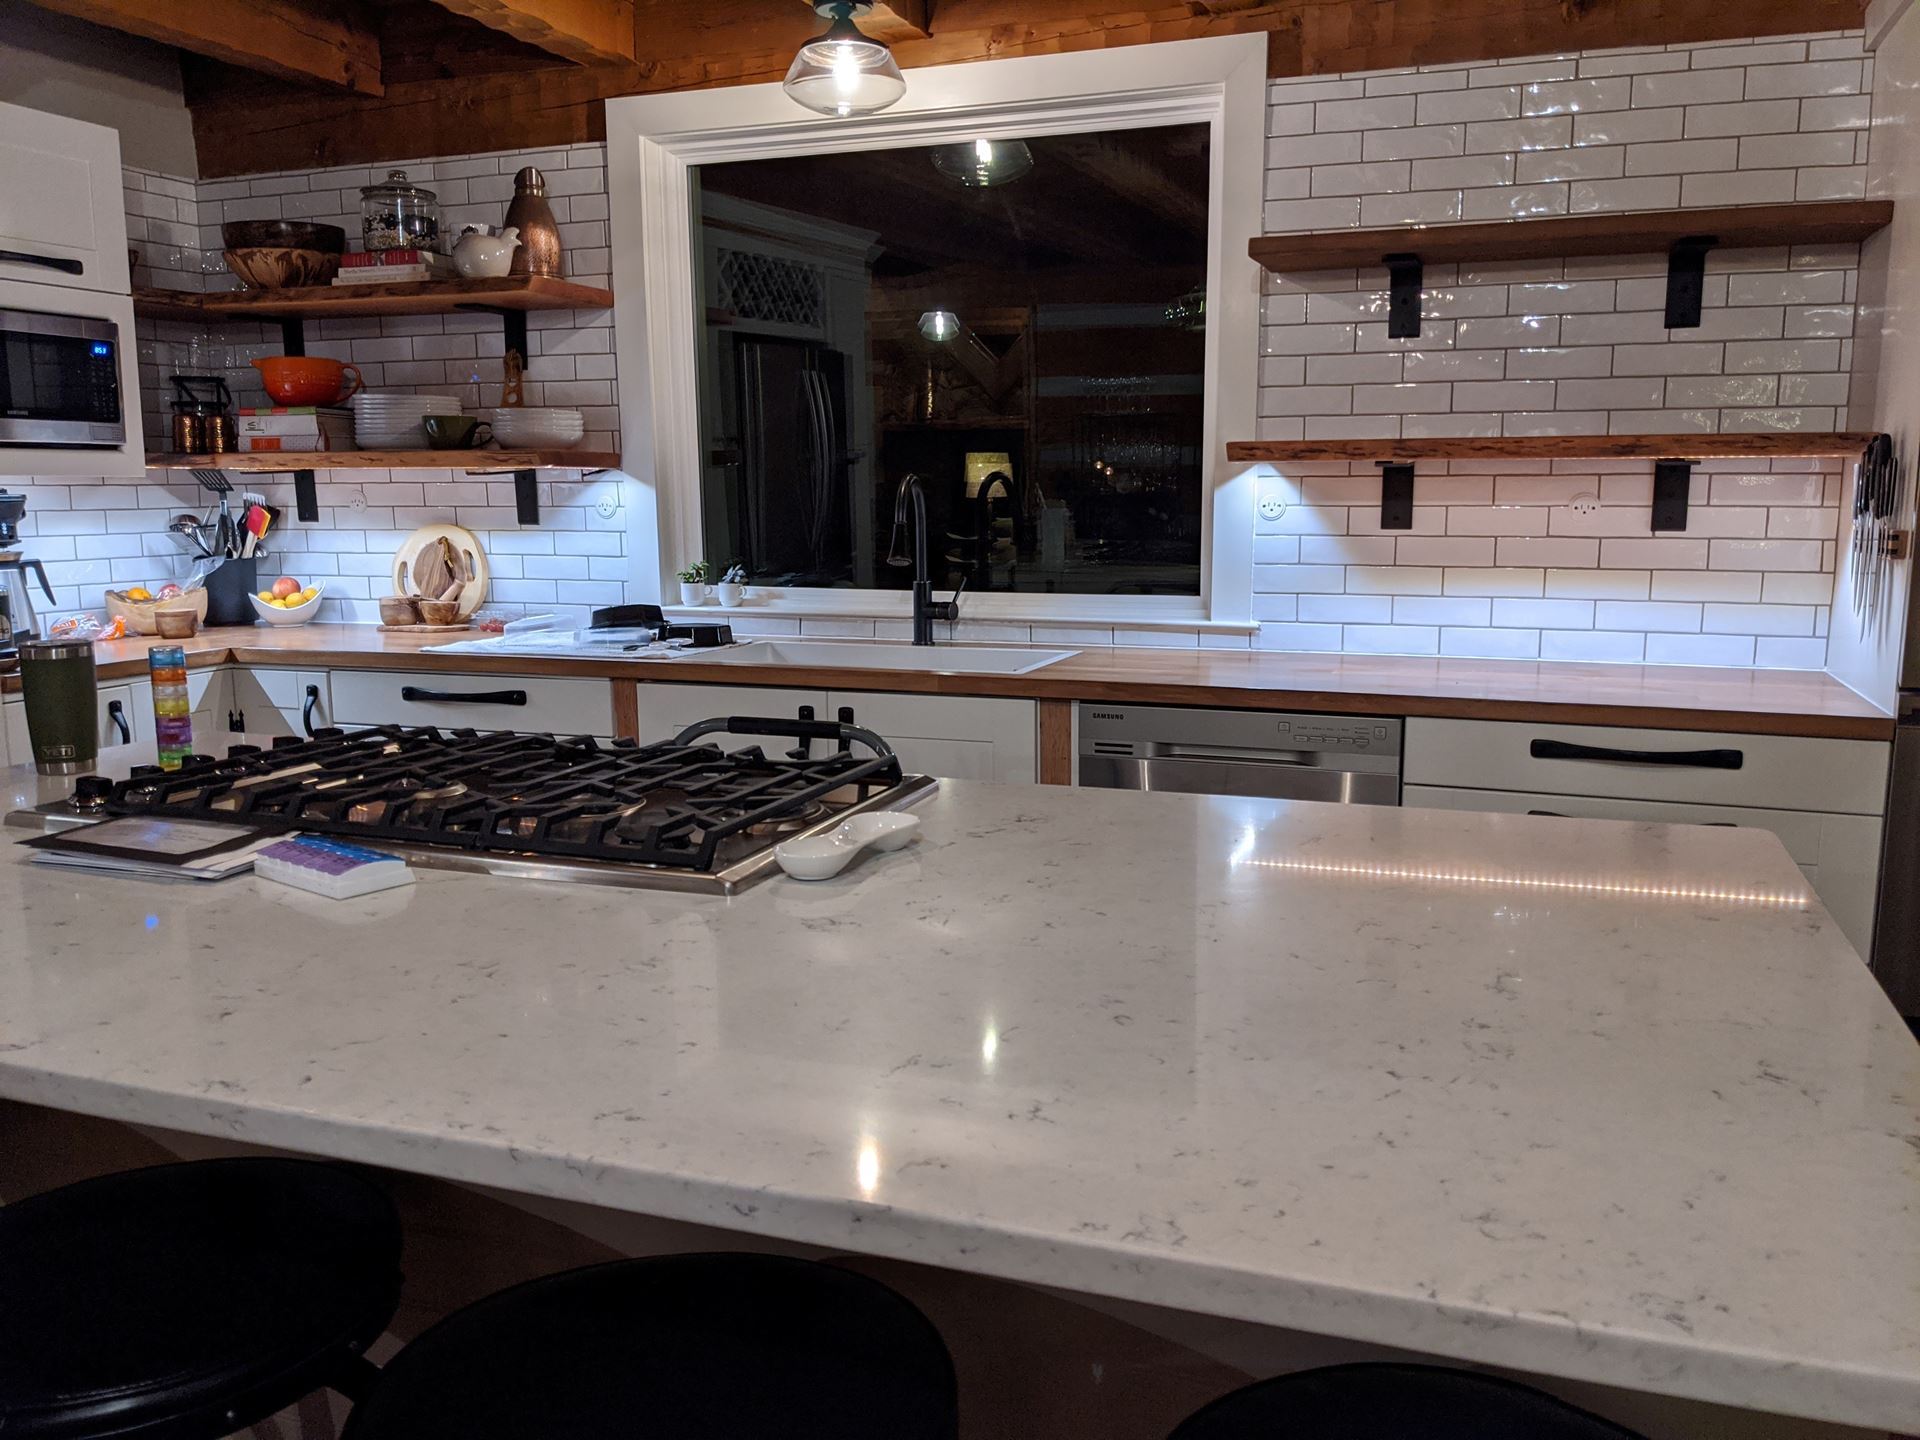
In 2018, my wife and I moved to our log home outside of Leesburg and I quickly took over half the basement for my woodshop. It was the first real shop I’d had in decades, ever since I’d given up my woodworking business. My wife and I haunted the Habitat Restore for used tools and hit a couple of jackpots! I spent most of the next two years on major renovations to my house, filling spare time on nights and weekends. My first project was to take a chainsaw to an interior wall to widen a doorway and then an exterior wall to enlarge a window. I know! Chainsaws do not normally come into play in home renos but it worked!
|
|
|
As my projects became bigger and more ambitious, I began looking for shop space I could rent with the larger tools I could not fit into my little basement shop. A coworker suggested Nova Labs in Reston. I looked them up and, while they did not have the tools I needed, I discovered a whole global community of maker spaces I didn’t know existed! A little Googling led me to Makersmiths, right in my back yard. After touring the Purcellville shop in August 2019, I did not hesitate to join.
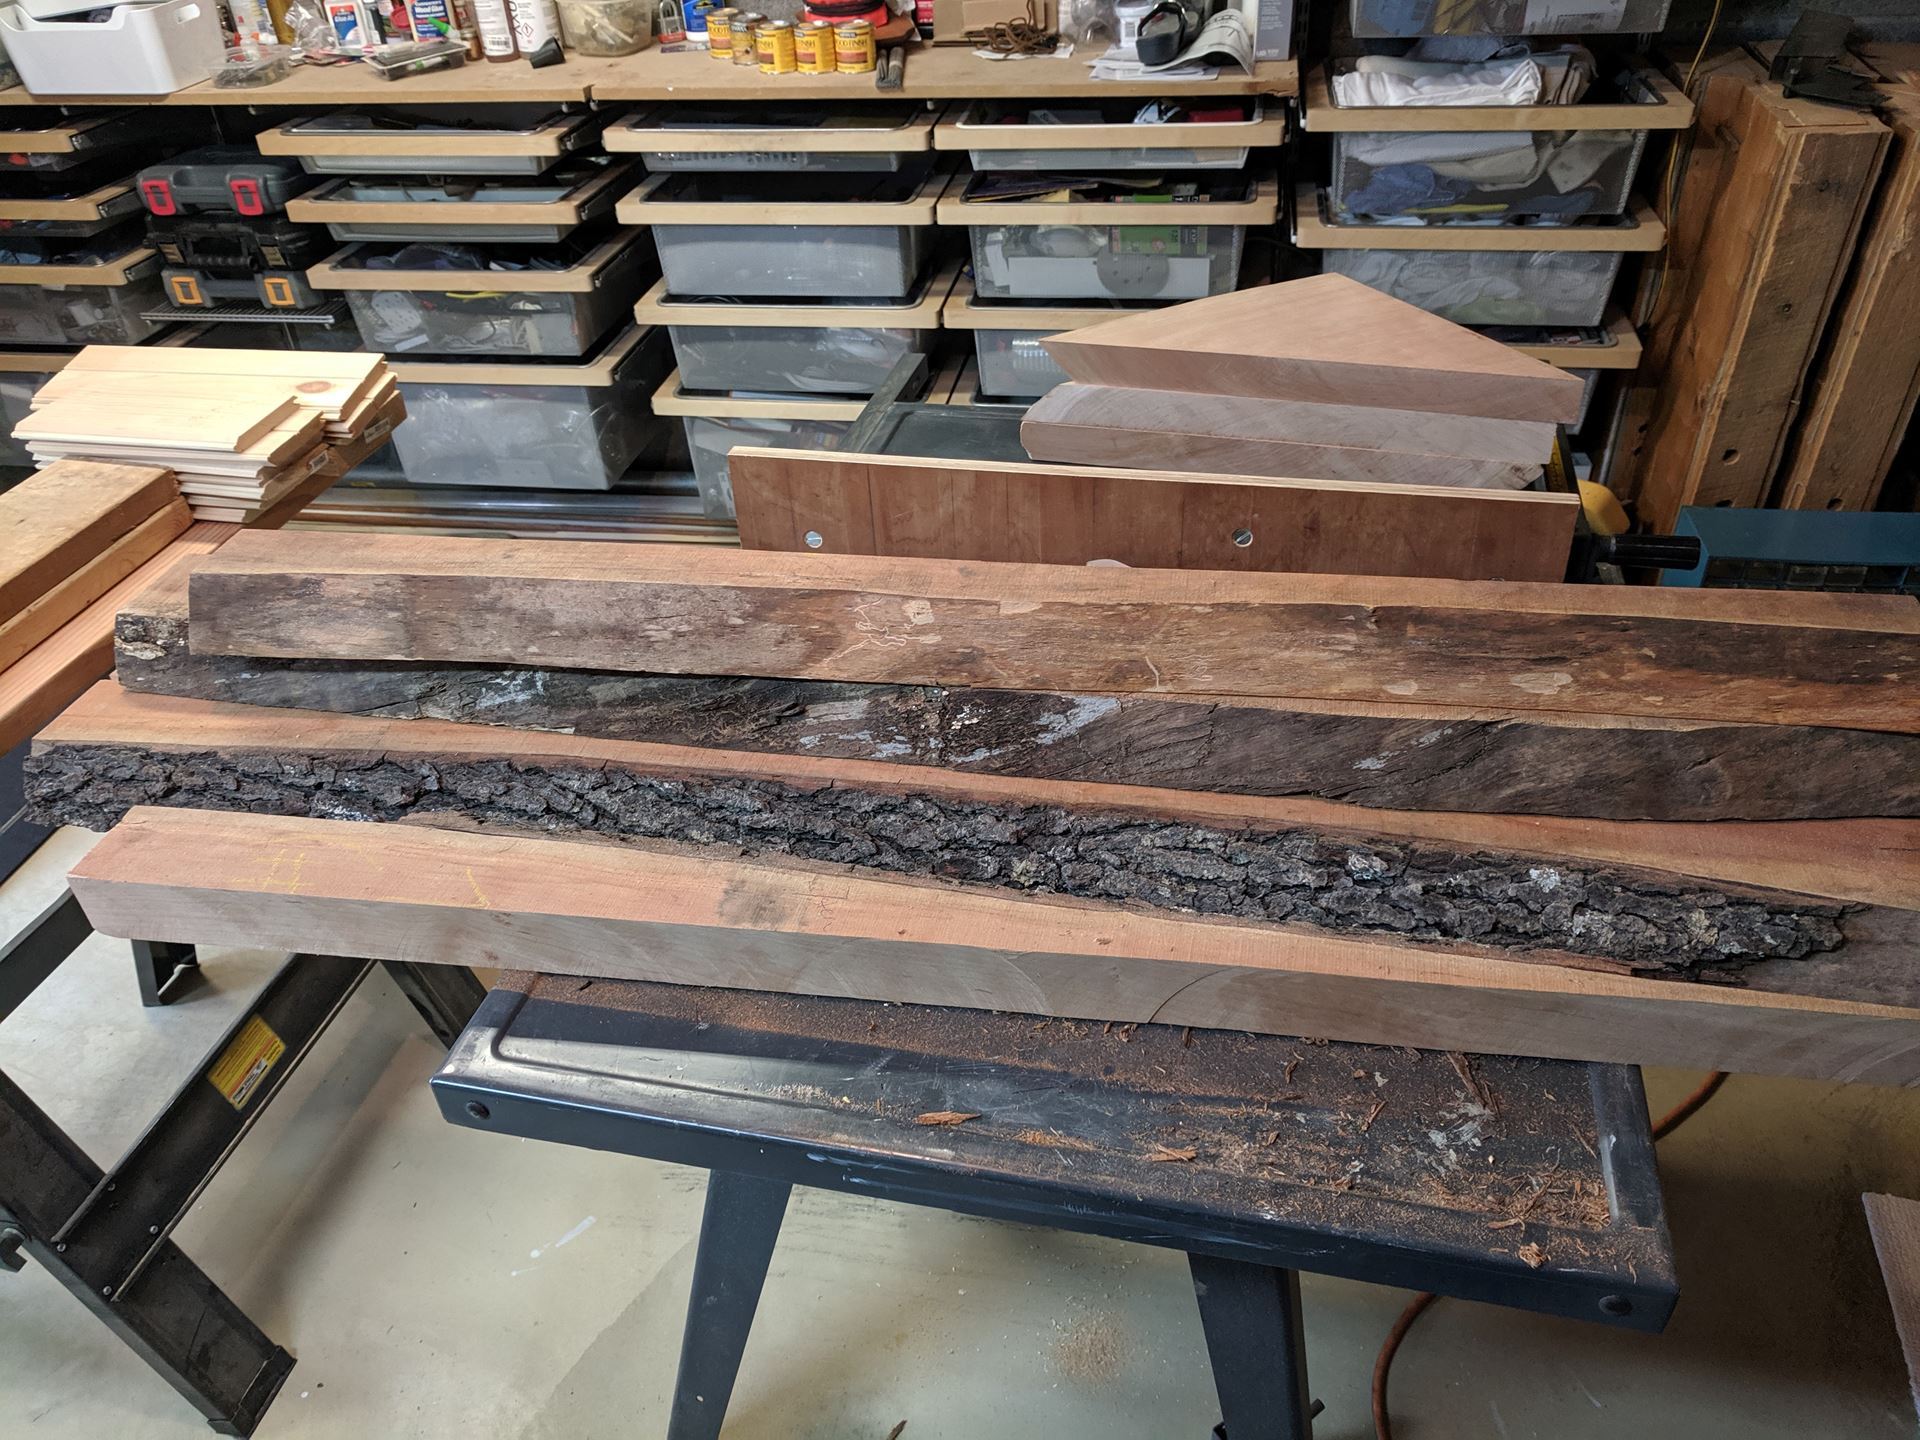
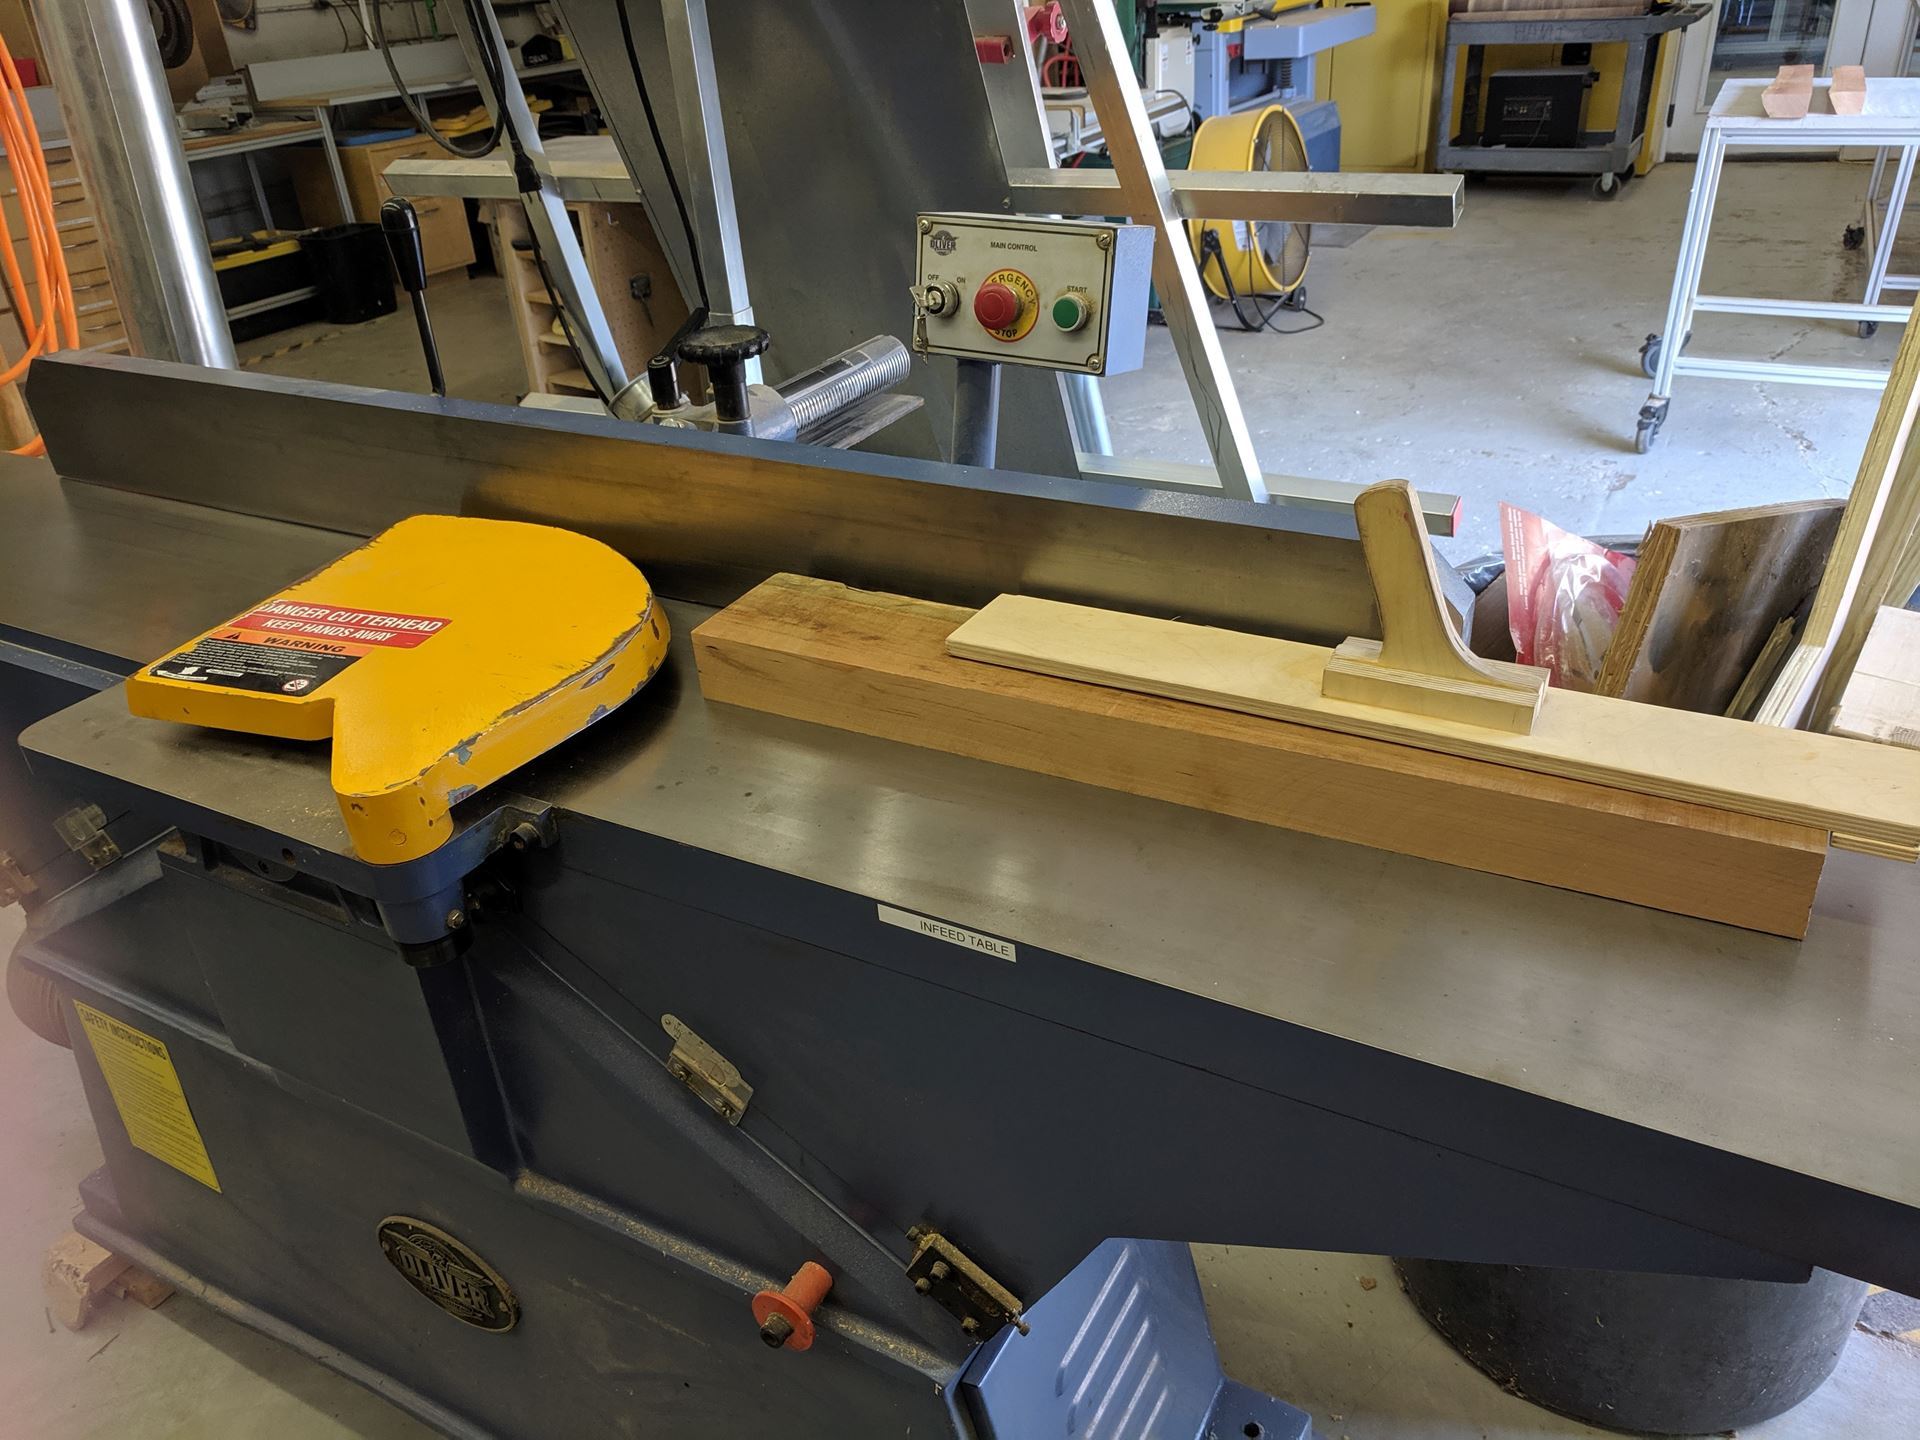
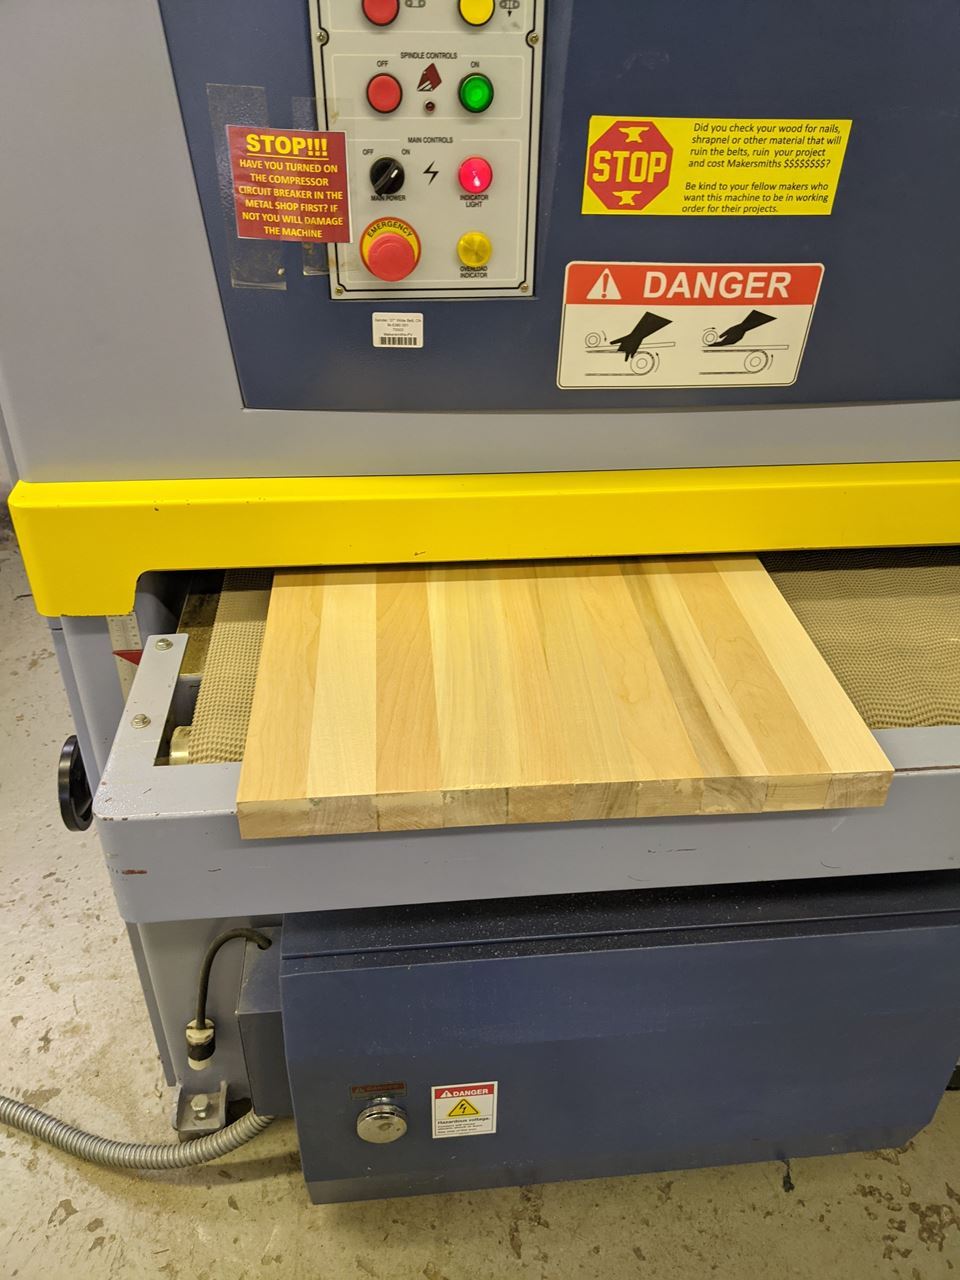
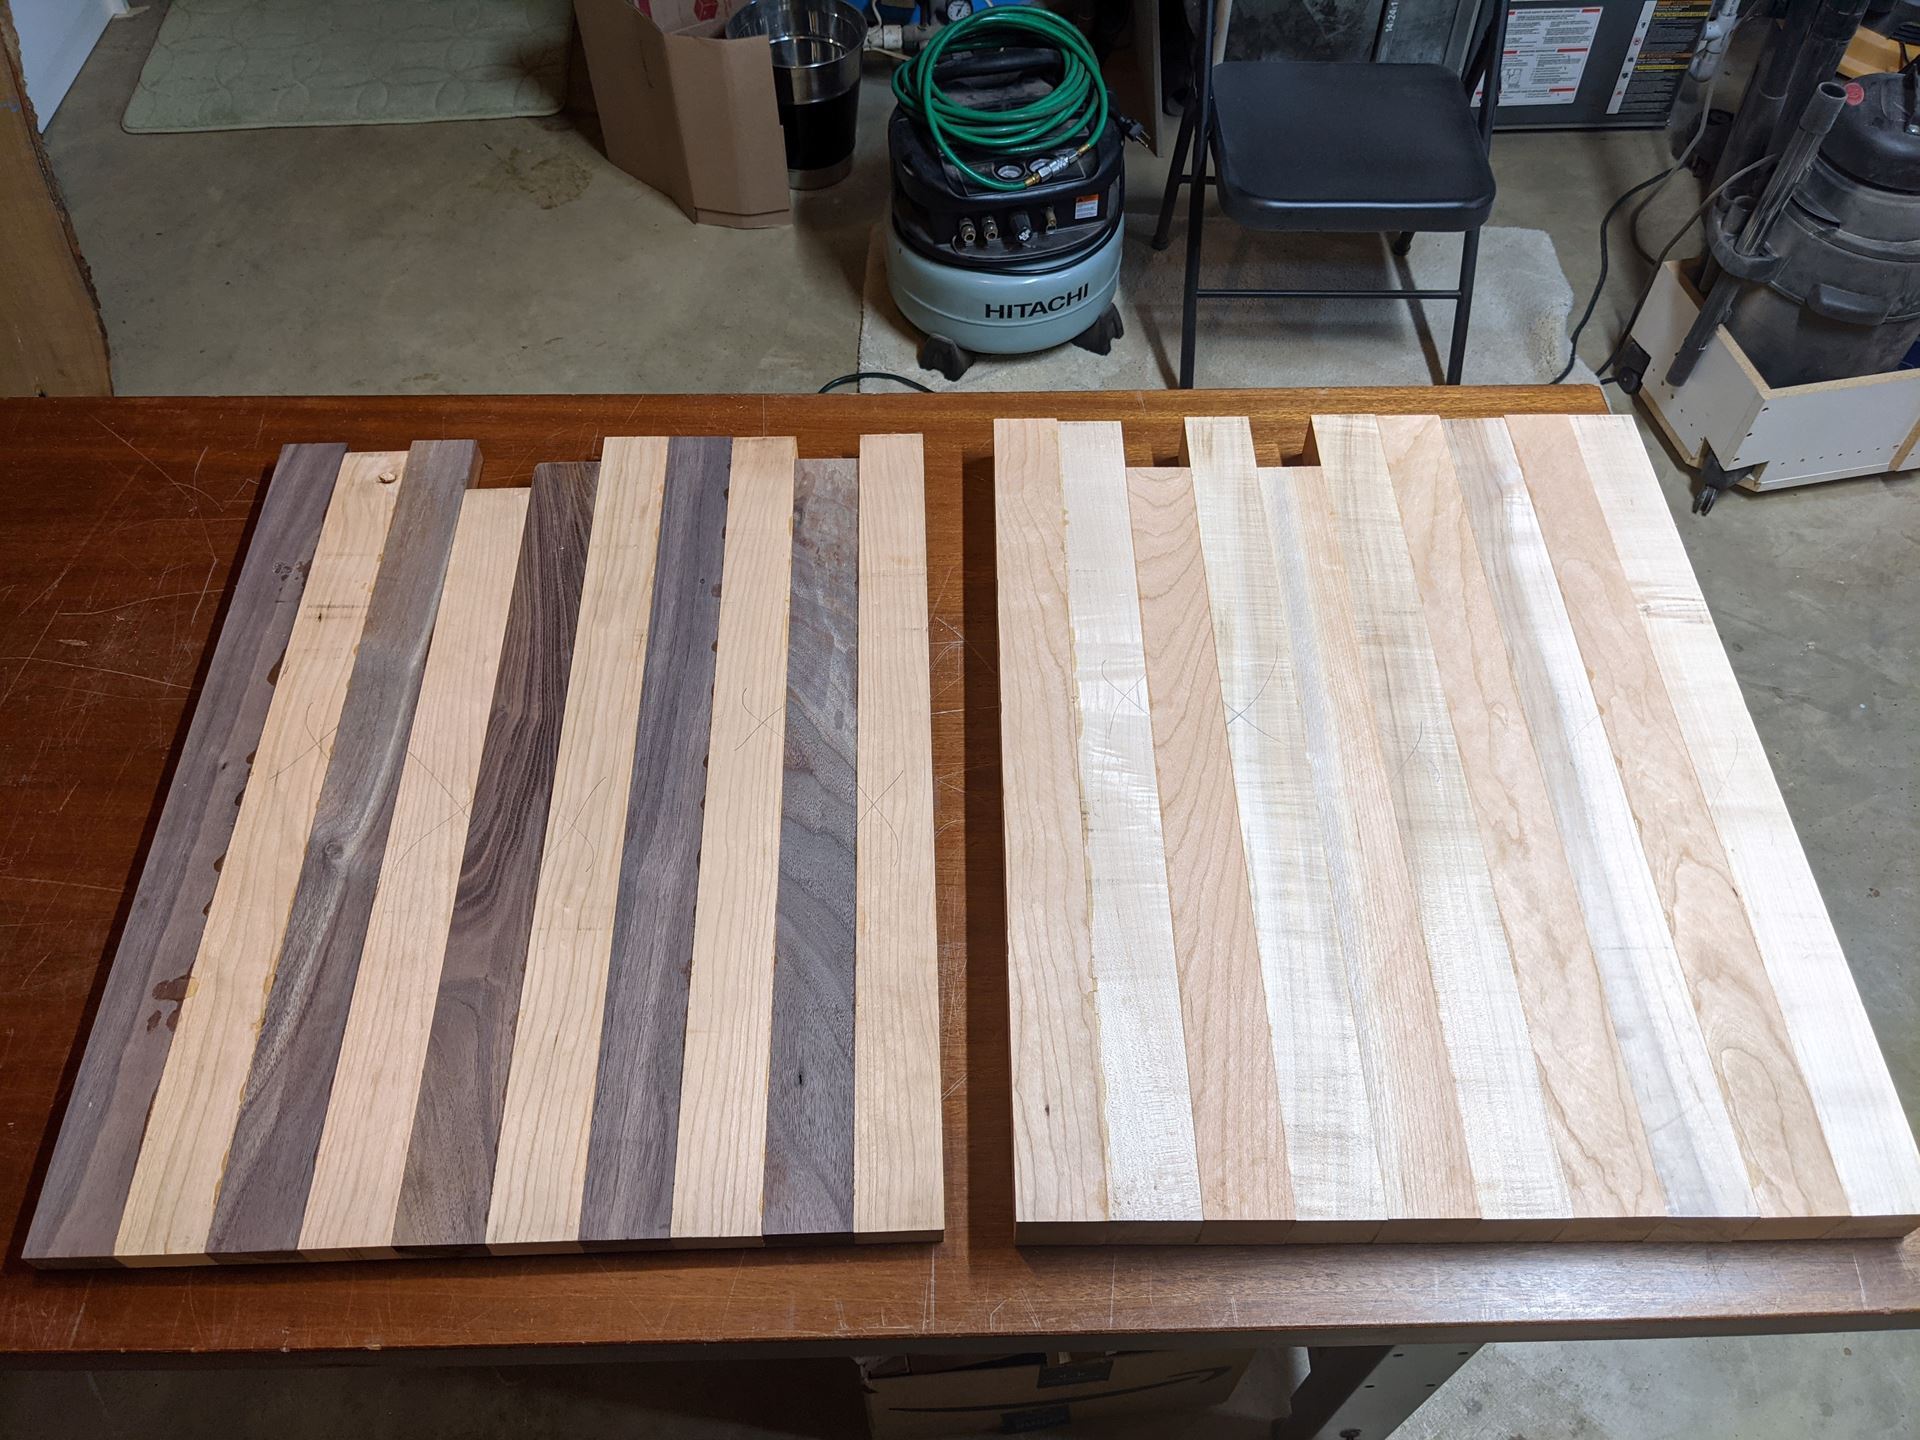
My first “big shop” project was a set of cherry live-edge floating shelves in the kitchen. This project left me with some really nice scraps, perfect for a charcuterie board and a couple of cutting boards, and the Purcellville location had the tools I needed to do it right. I cut the scraps to a uniform width, ran them across the jointer to get one flat surface, through the planer to get a parallel flat surface and uniform thickness, back to the jointer to get a square edge, and finally back to the table saw to round up the other edge. From there, it was ready to glue up, run thru the big drum sander, trim to size, and sand, sand, sand.
|
|
|
|
|
Those first boards were a hit with family members and piqued my interest in making cutting boards. Although I’ve been a woodworker for 40 years, I discovered there was a lot to learn! There are techniques for proper sanding, food-safe finishes, which glues to use and which to avoid, proper clamping techniques, appropriate woods for cutting boards, and on and on.
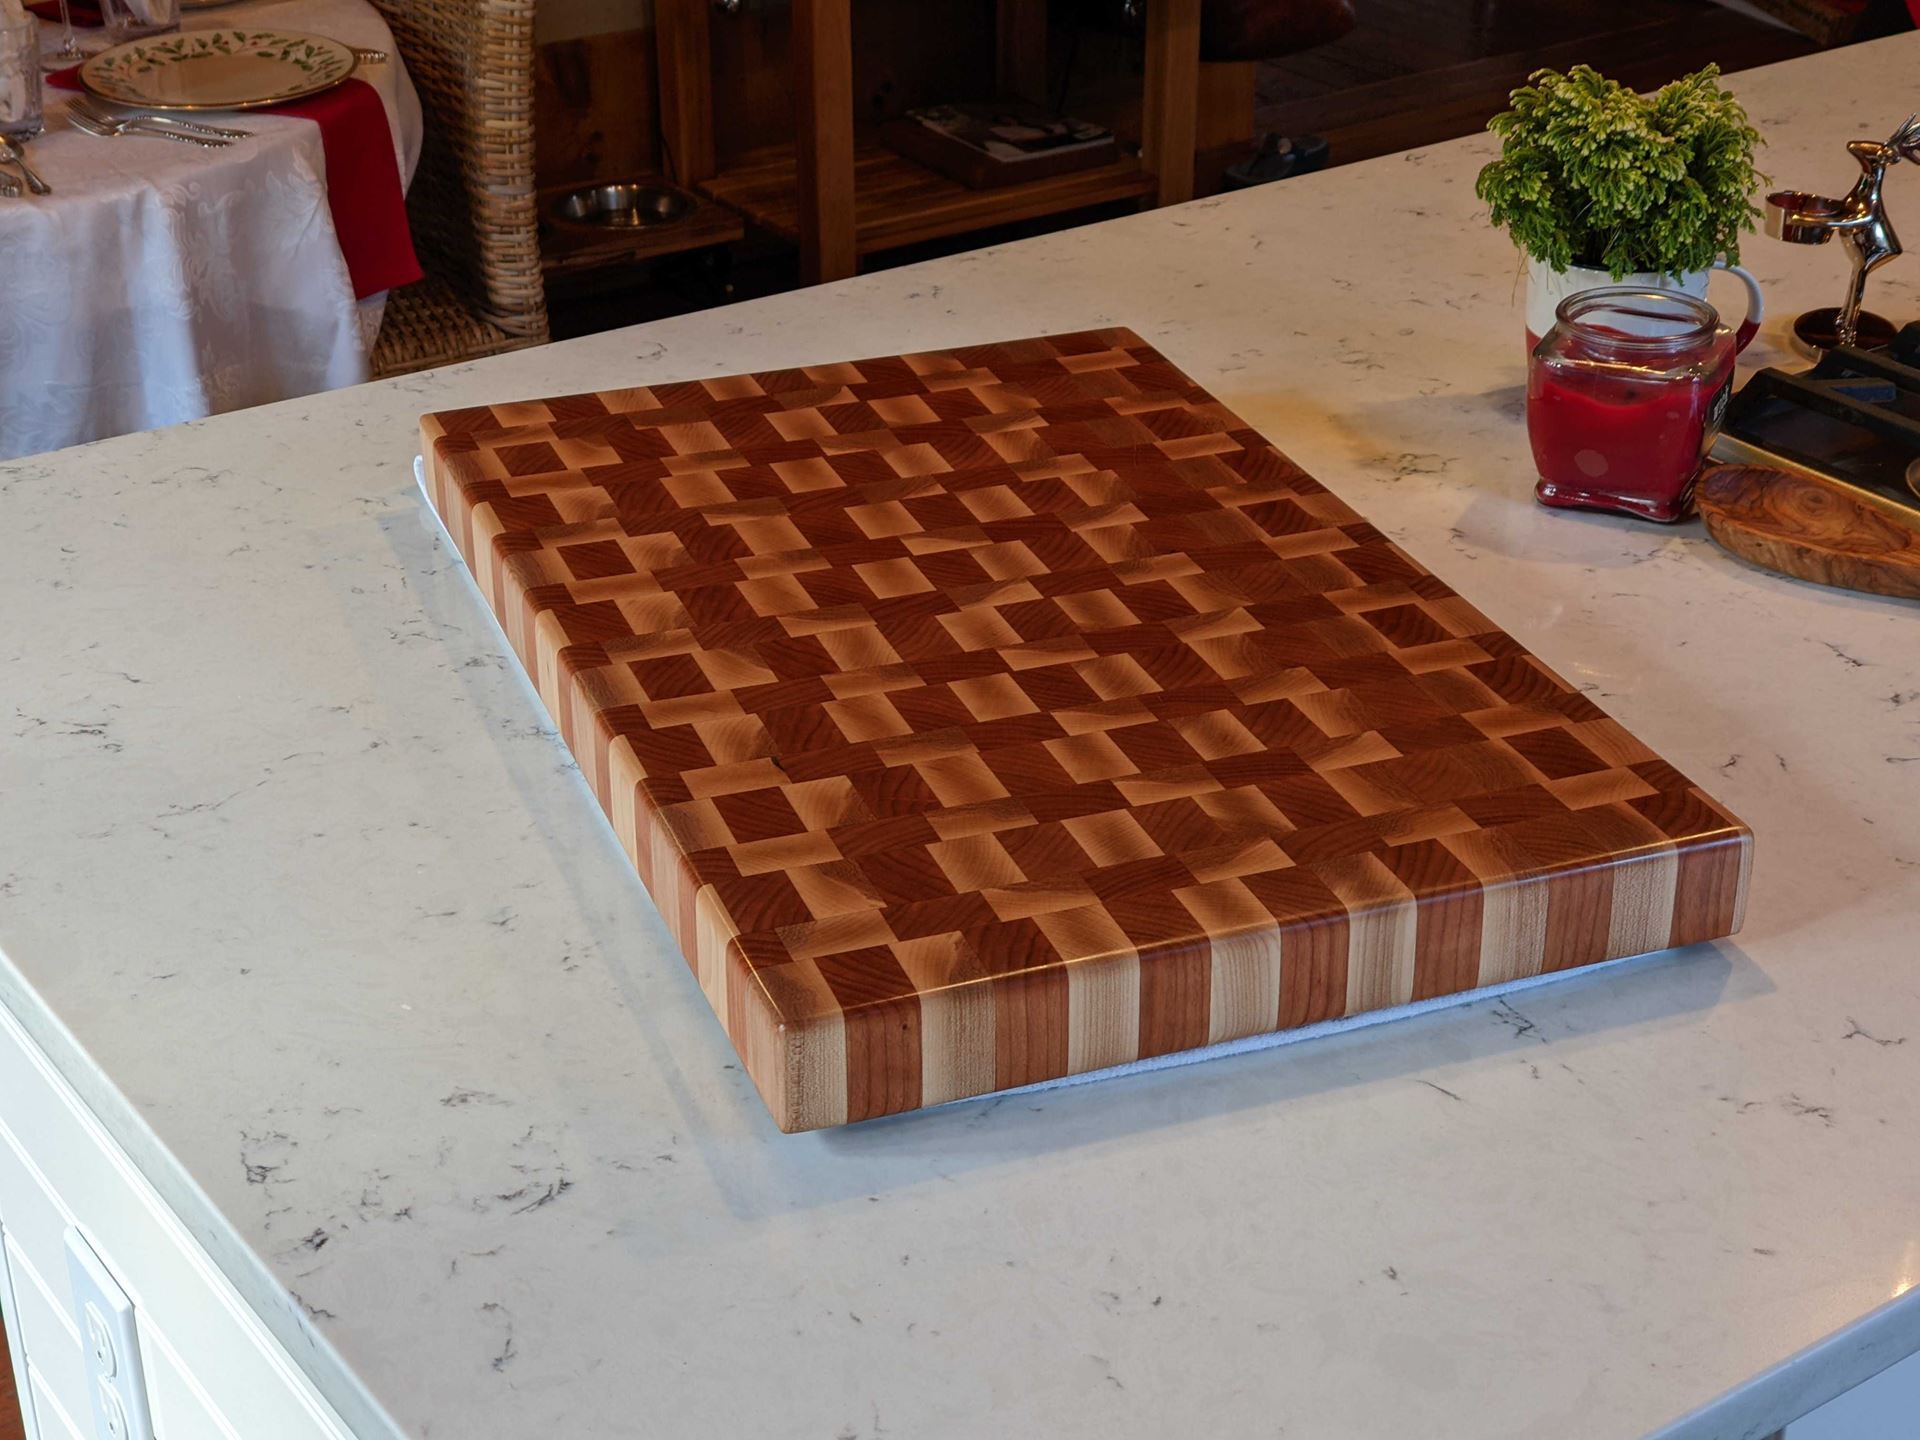
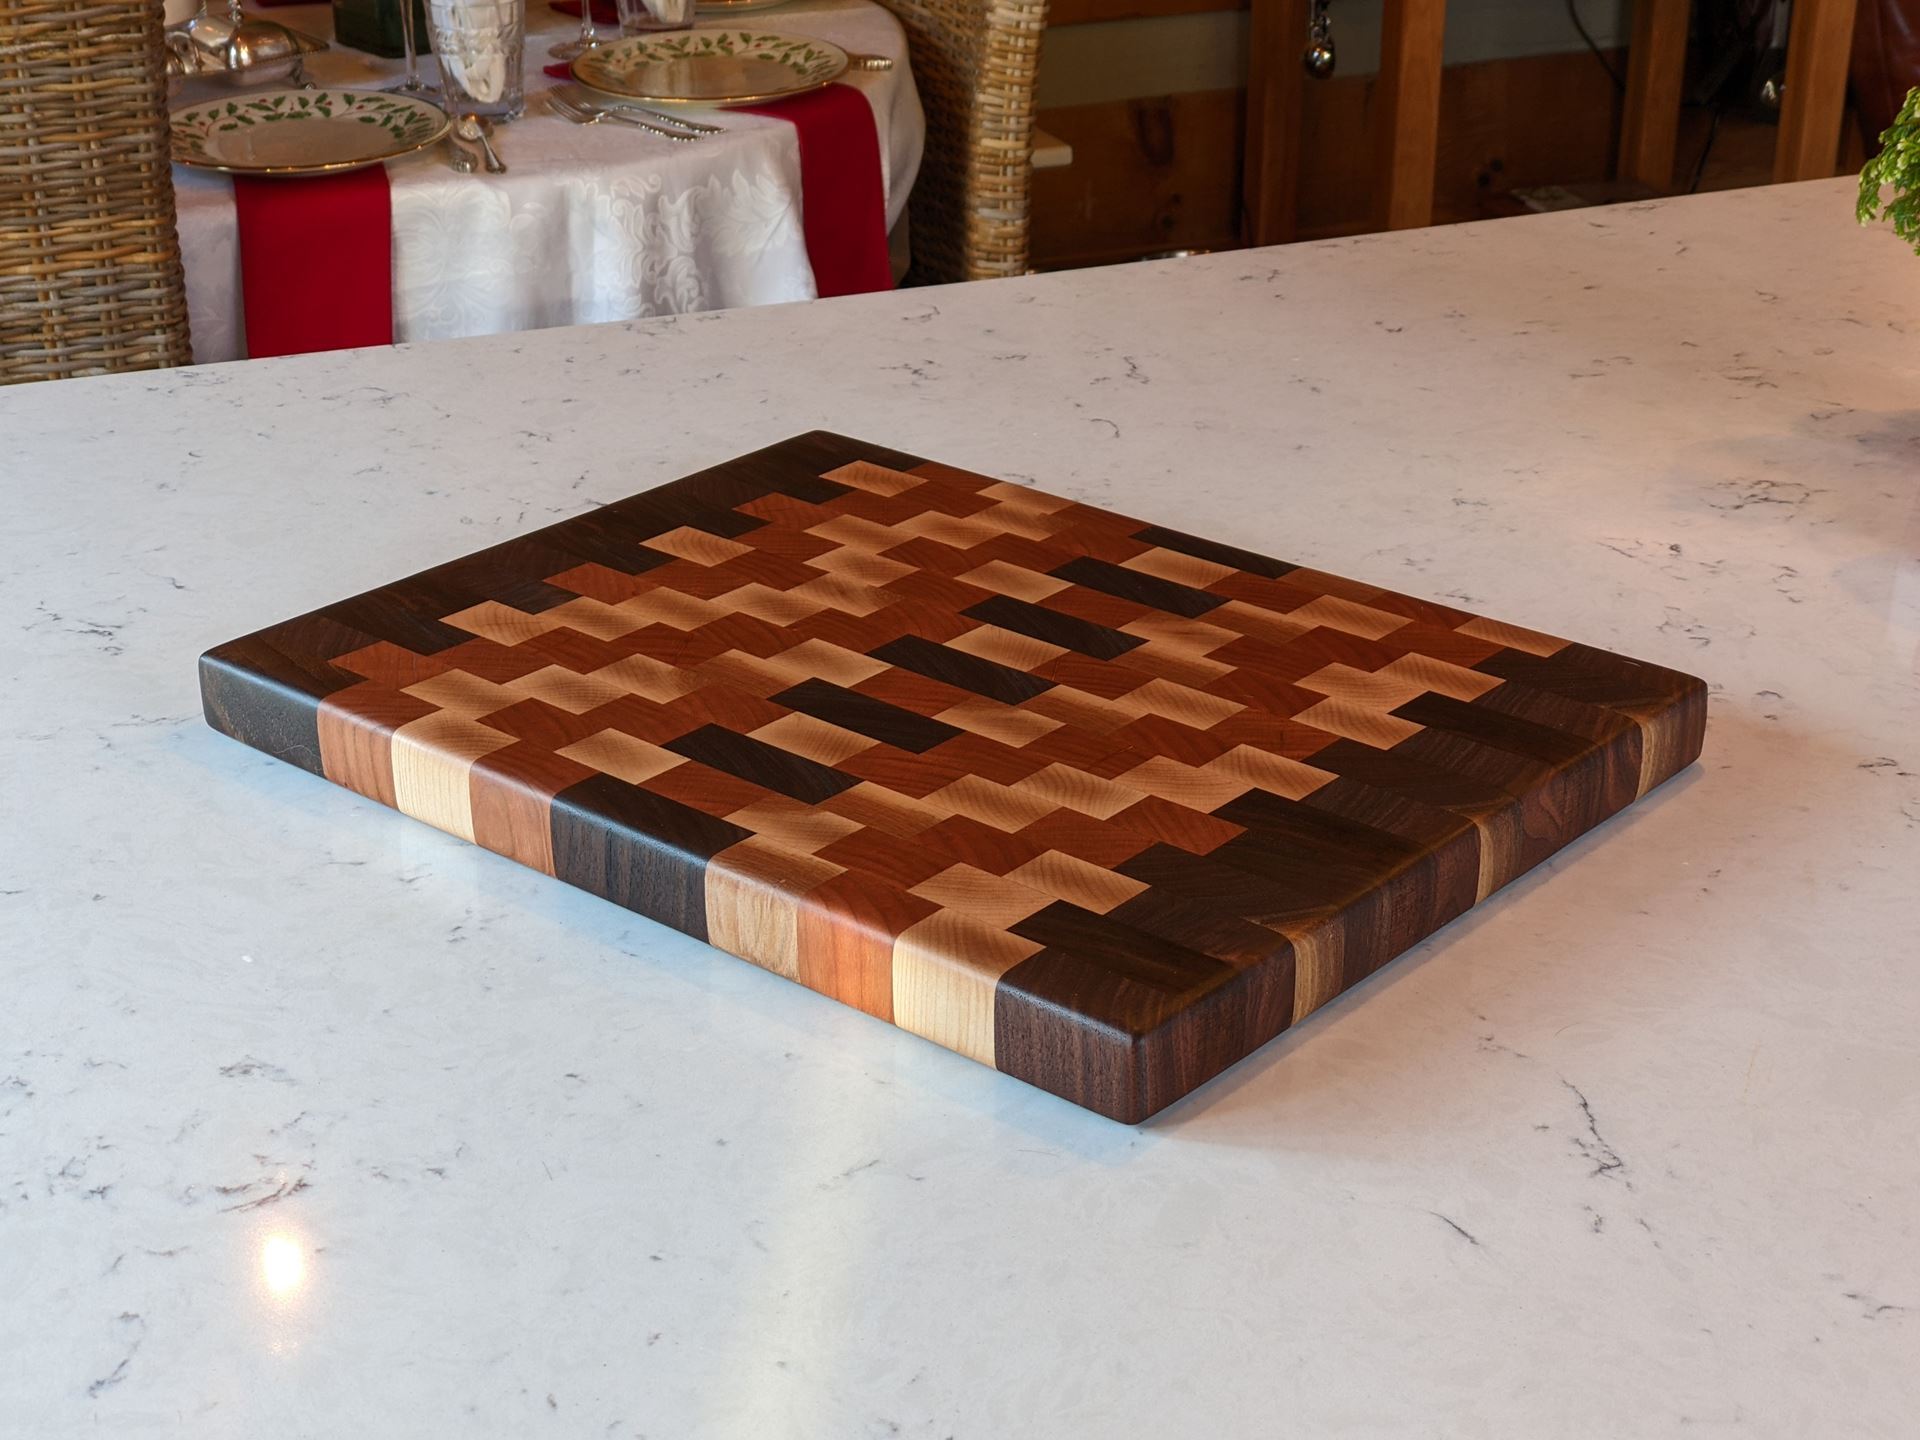
I discovered that highly-prized cutting boards are end-grain. Top chefs spend a small fortune on their knives and so are very protective of them. They insist on using only end-grain boards, which keep their knives sharper longer. In an article I found, someone did a controlled test by running the same knives across different types of cutting boards 300 times and then measured sharpness. He found the end-grain boards left the knives sharper. My research also revealed end-grain boards are less likely to crack or warp, particularly if they are glued up in a brick-layer pattern. I was sold on the quality and decided I would only make end-grain boards, despite the higher cost and effort.
An end-grain board is probably twice the work and 50% more material than a face or edge-grain board. Even a fairly simple design requires three separate glue-ups compared to a single glue-up for a face or edge-grain board. In effect, you are making two edge-grain boards, cutting them into strips across the grain, flipping the strips up on edge, intermixing the strips from those two boards, and doing a final glue-up. The process can be confusing as you must remember the width of those strips will become the thickness of the board.
I’ve enjoyed the new skills and knowledge I’ve acquired over the creation of my end-grain cutting boards. I’m happy to answer any questions and direct you to some of the resources I’ve discovered as you embark on your own projects.
My current project is a farmhouse table for the kitchen. You can see more photos of my work at https://www.instagram.com/whiskeyrunwooddesigns
|
|
|
Dollhouse Dreams
Marti Wills
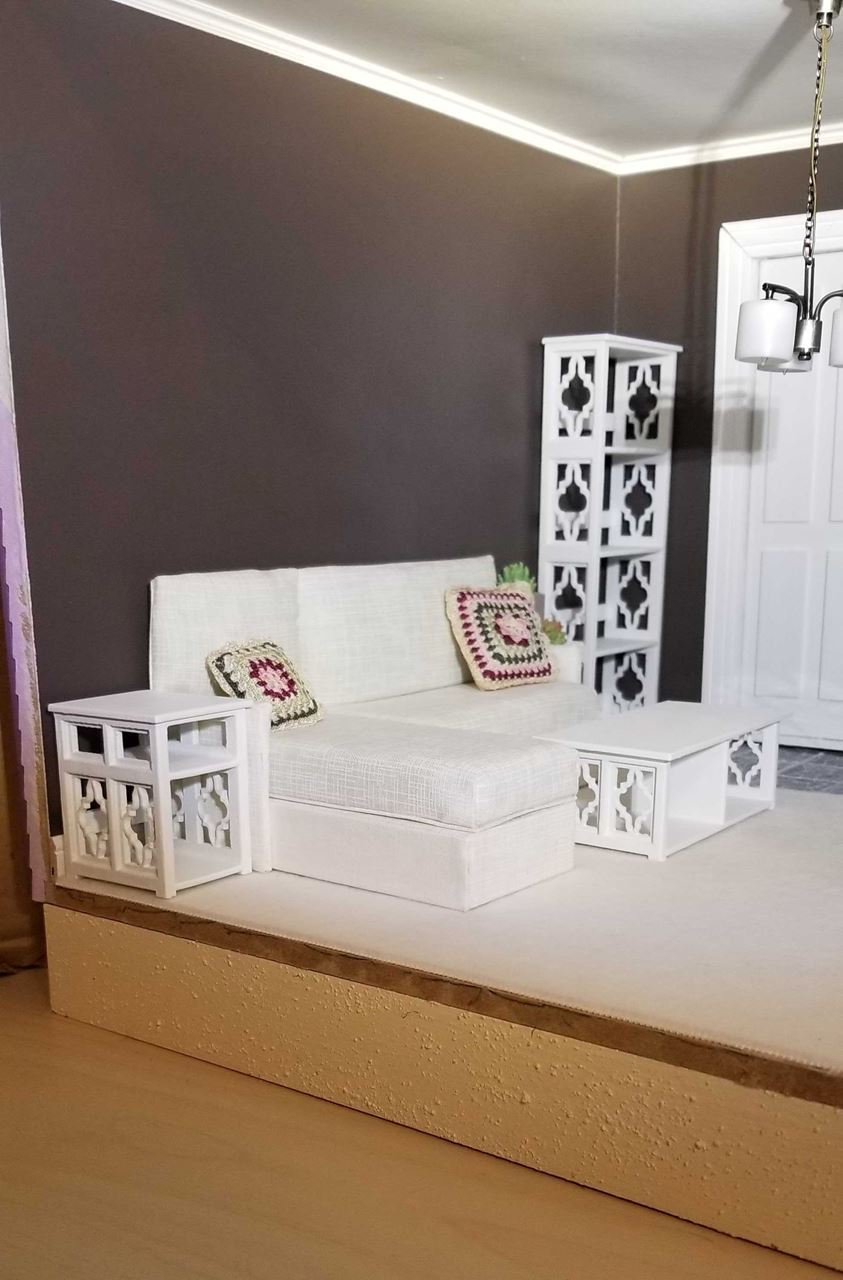
When I was a kid, my aunt built this amazing dollhouse and I just loved it. My mom gave me a kit to build a dollhouse of my own complete with furniture for Christmas when I was 8, but sadly, it was far too complex for me to do alone and my mom lacked the dollhouse bug. I was lamenting this for a while when my husband finally asked, “Do I need to take you to get a dollhouse?” Off we went to Hobby Lobby with a 50% off coupon! Little did I know, it’s quite an undertaking for an adult as well! Respect for my aunt!
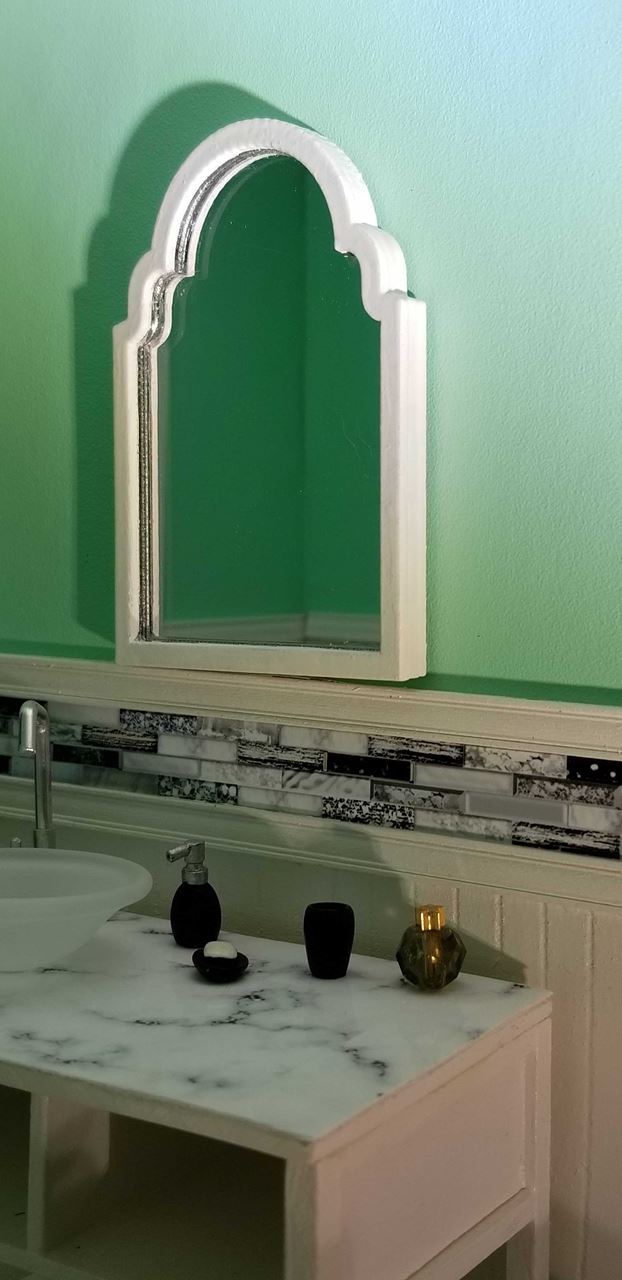
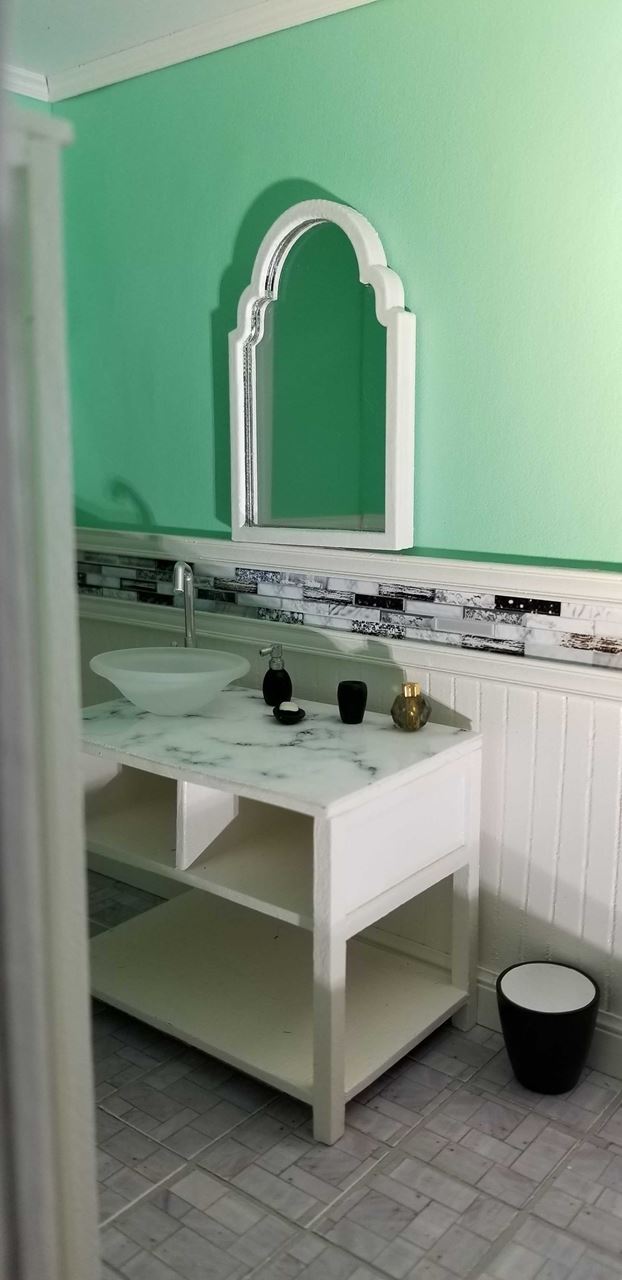
My daughter took over ownership when she was 11 and thought she might be an Interior Designer one day. This began the process of her finding pictures of real-life rooms and furnishings which I would then re-create. Quickly, I realized my basic tools and the fact that ready-made furnishings and fixtures were almost exclusively Victorian were not going to cut it. She wanted a modern-day house.
I was aware of Makersmiths and had, in fact, taken a class on resin boards with my son taught by Mike Tomlin about 3 yrs ago. The class was at the Purcellville location, which was largely a woodshop at the time and did not have tools I was interested in for this project. Last year, I saw what people were creating with the Cricut Maker and purchased one but the results were not up to my standards. Remembering Makersmiths, I checked out the Leesburg location, saw the laser cutter class, and signed up immediately! Adding the Adobe Illustrator 101 class really opened up the possibilities.
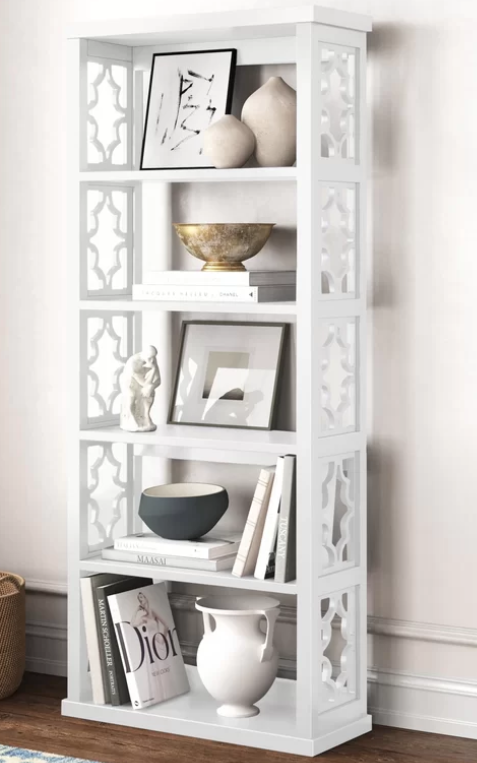
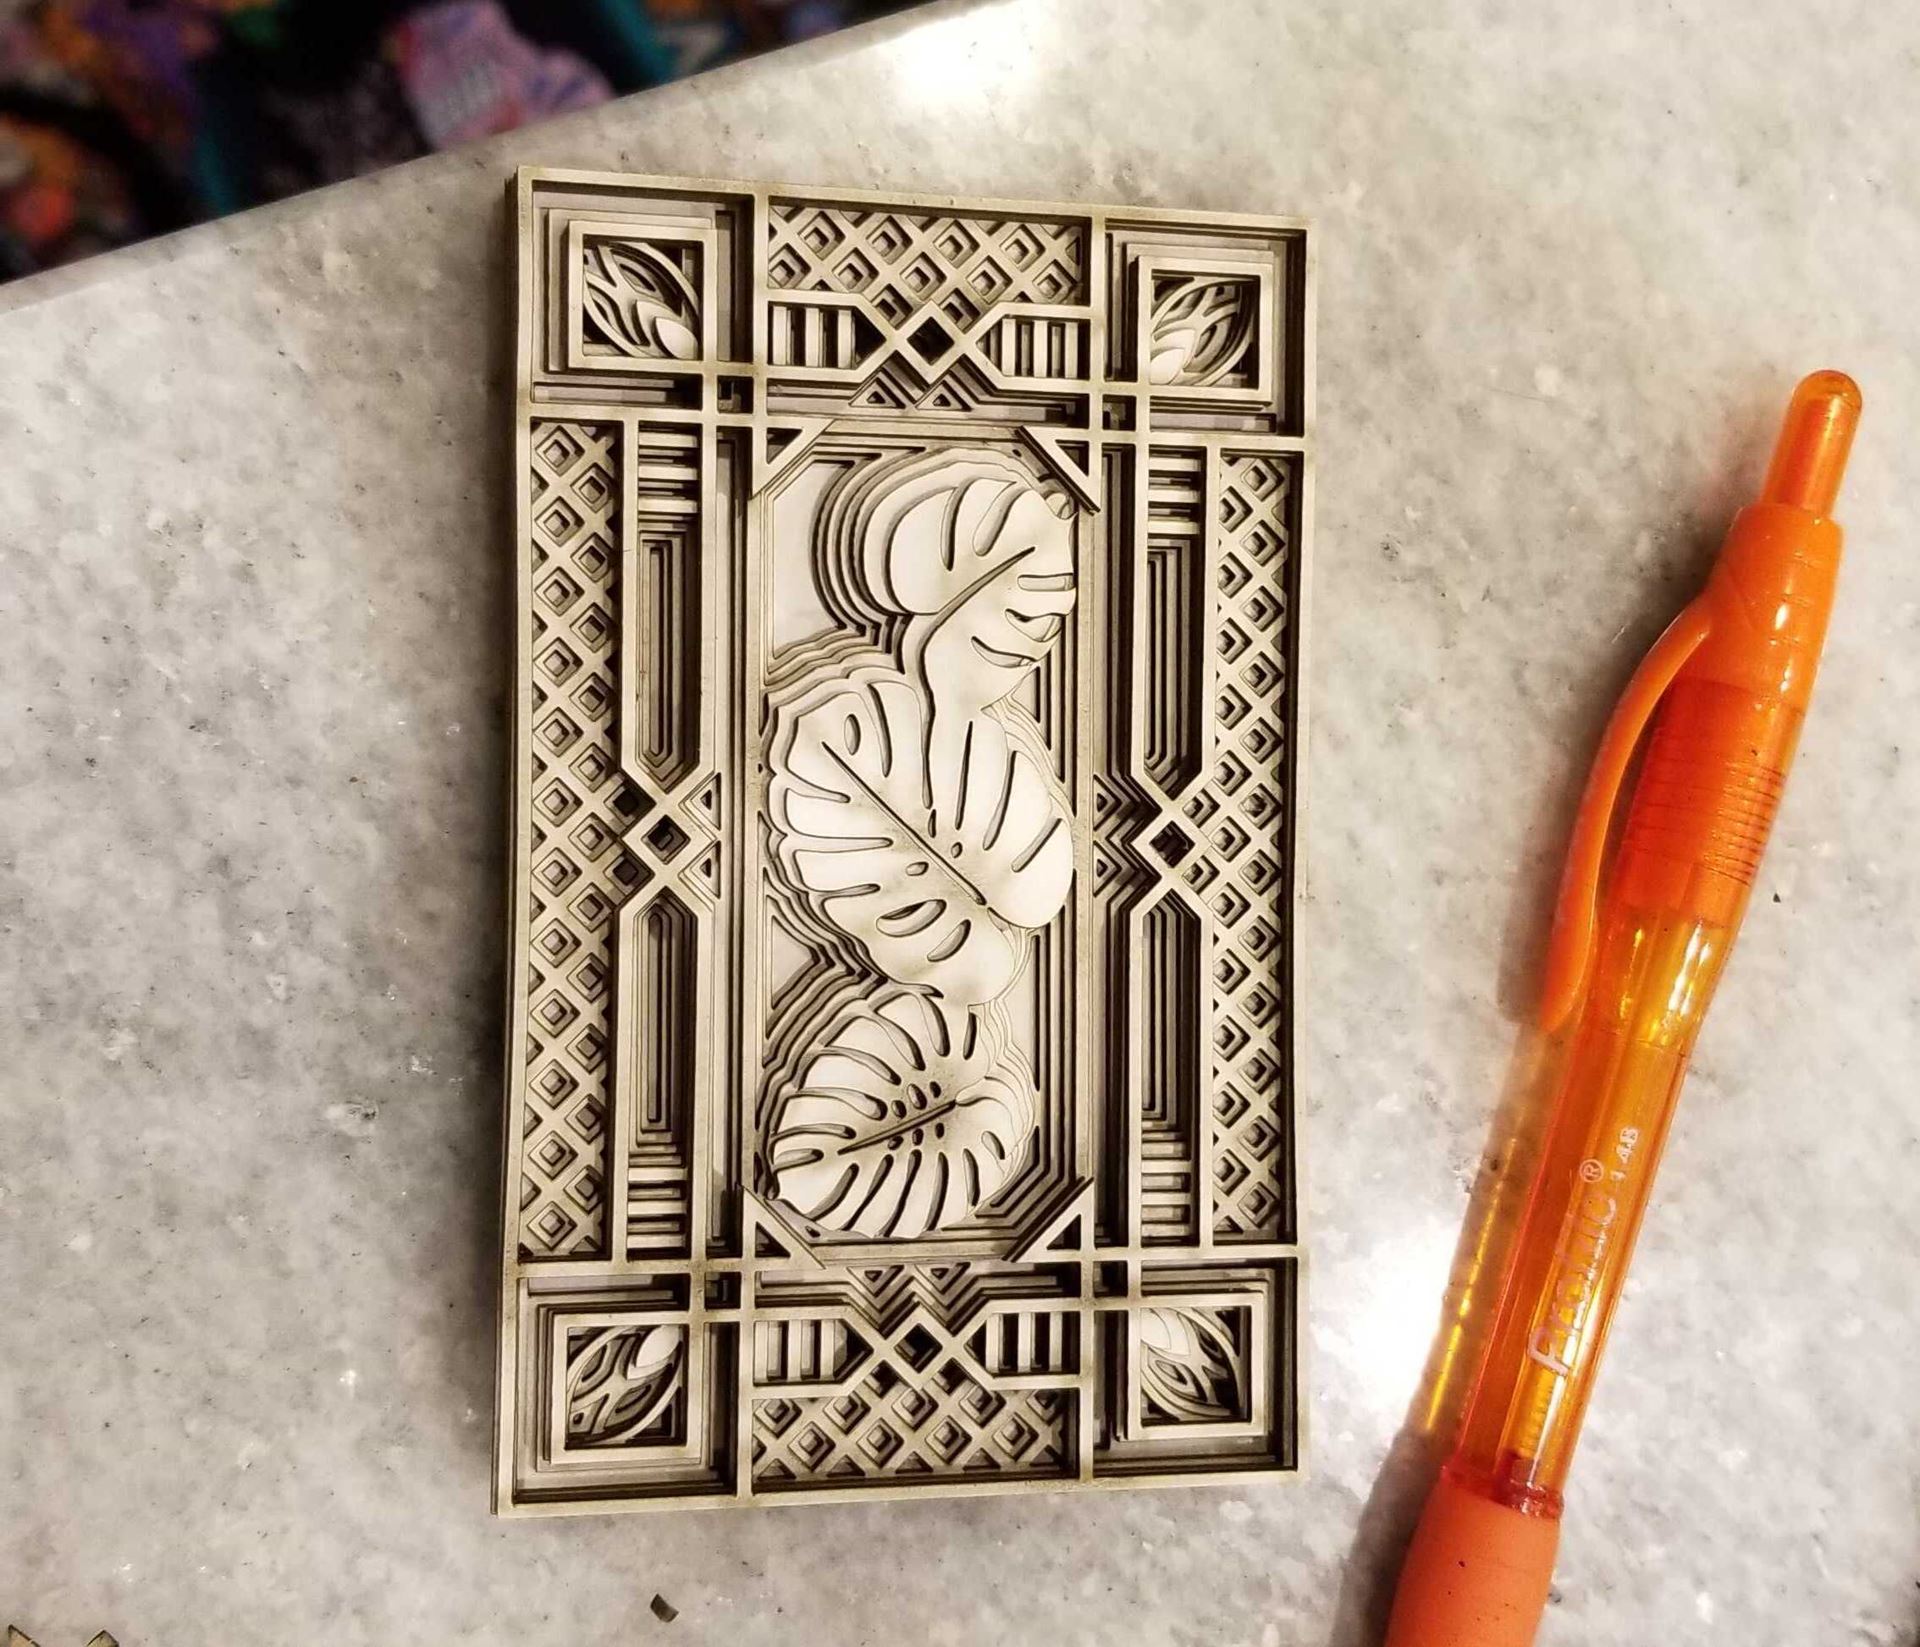
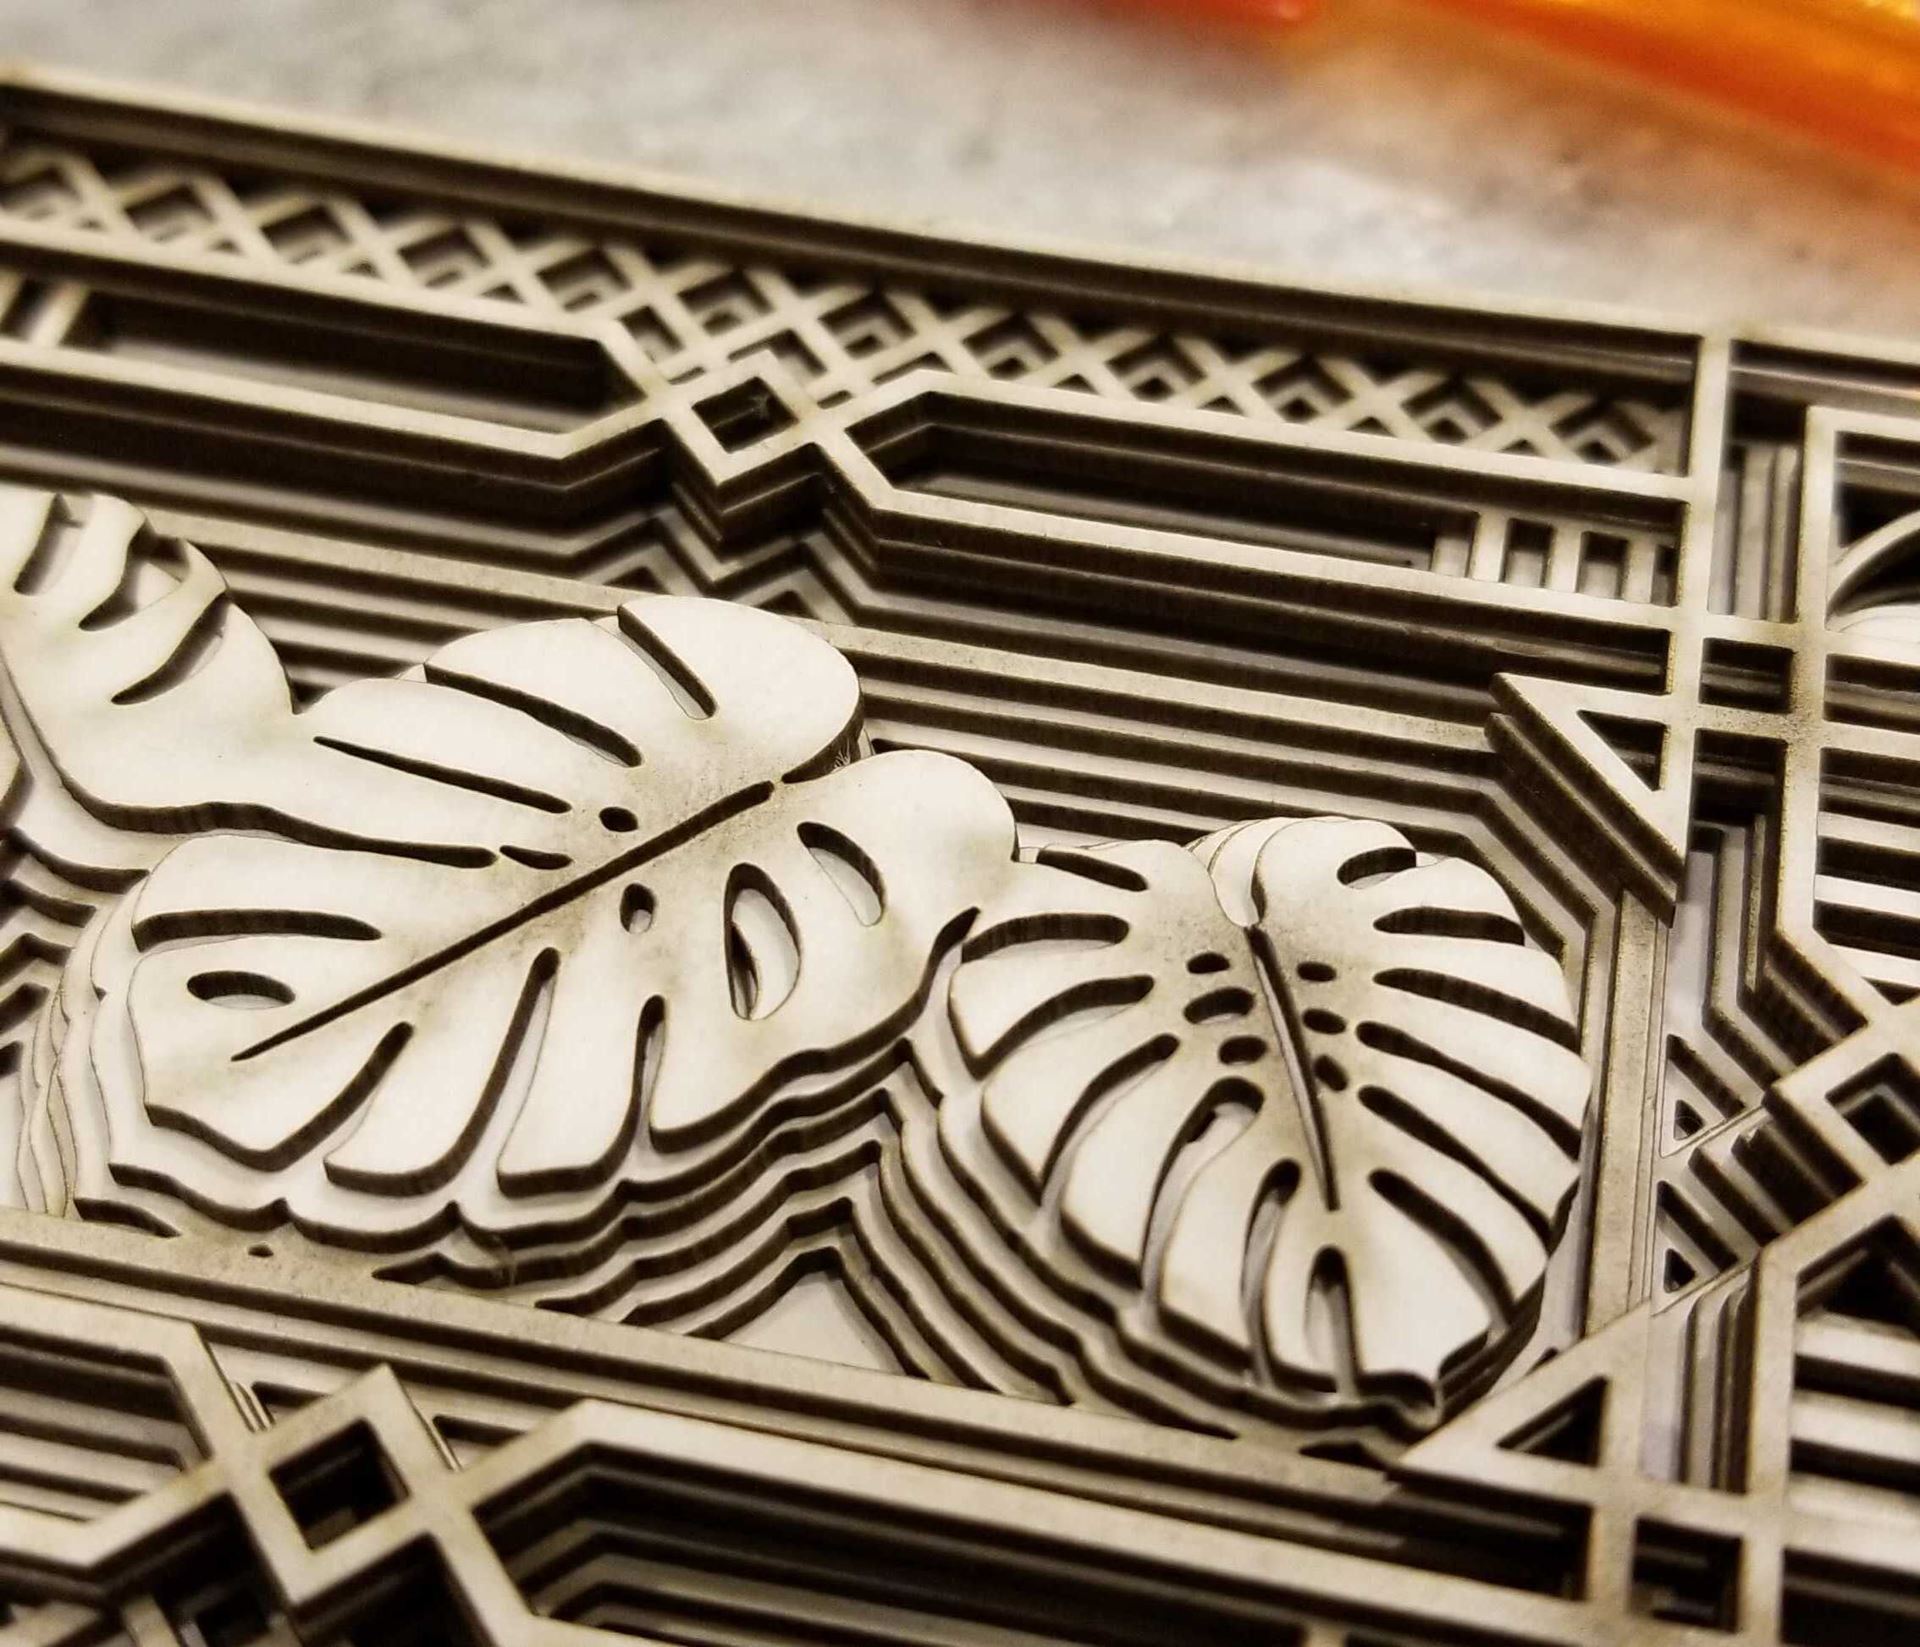
With those classes under my belt, and a lot of questions to the Makersmiths community (thank you, Jessee!), I finally achieved success with the living room set I based off a real-life bookshelf we had been gazing at online for 3 YEARS! The furniture and mirror are based on actual Wayfair furniture. Additionally, I created a multi-layer artwork as well as a bathroom mirror based on my daughter’s exact specifications. I recently learned how to use the 3D resin printer and the UV printer is next on my list! |
|
|
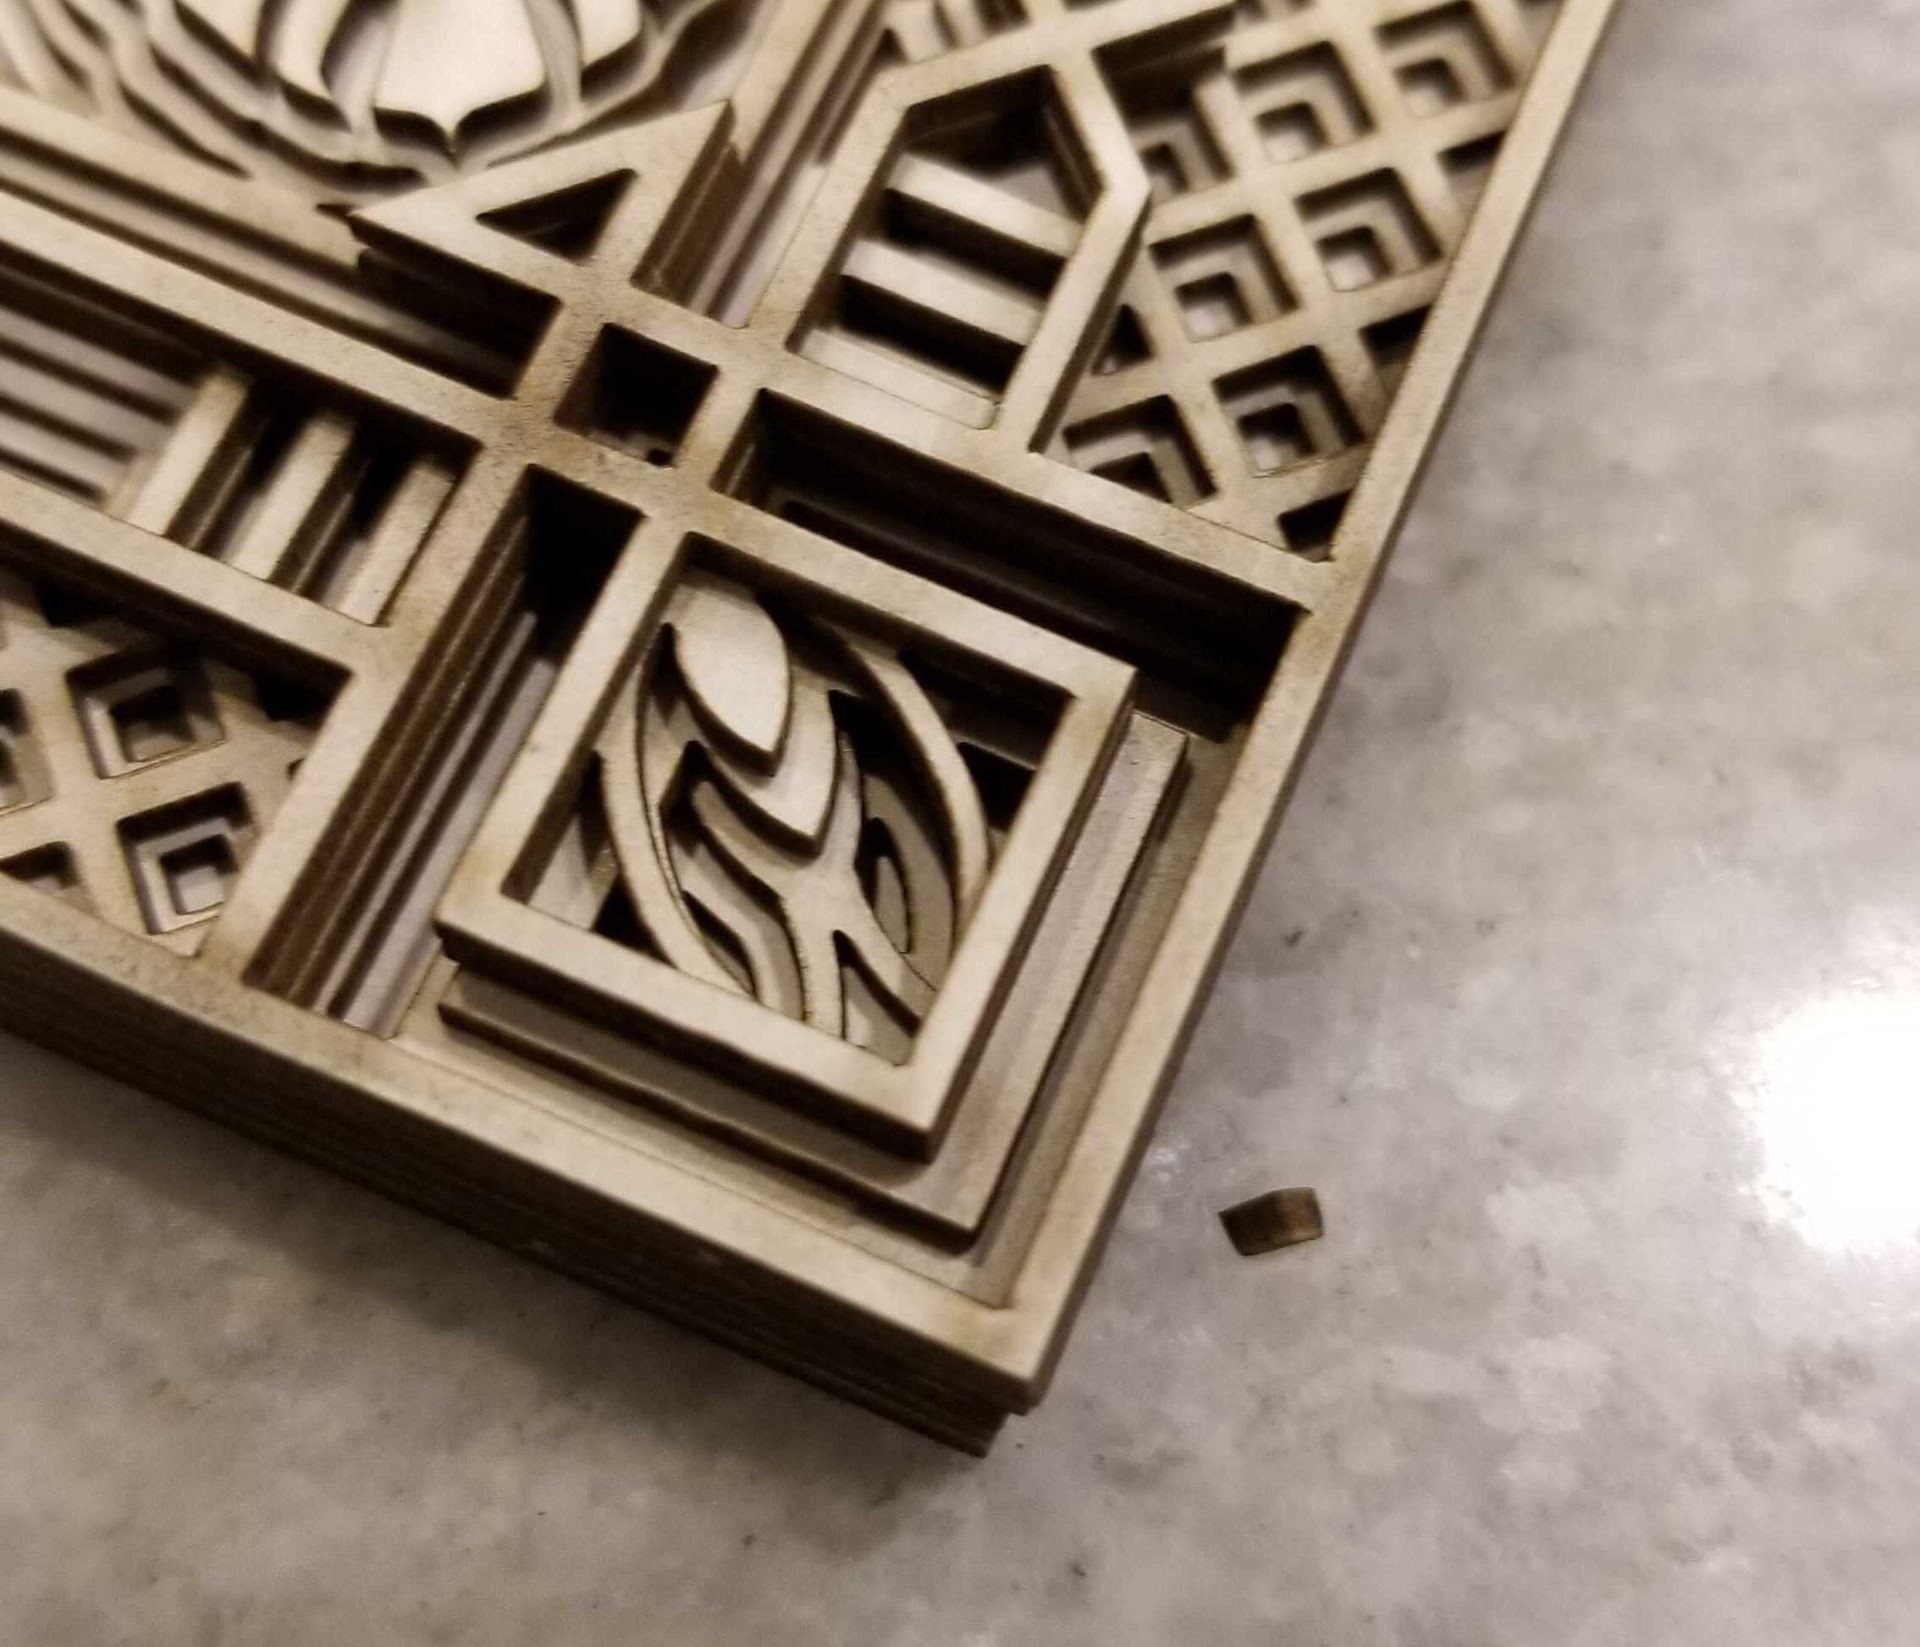
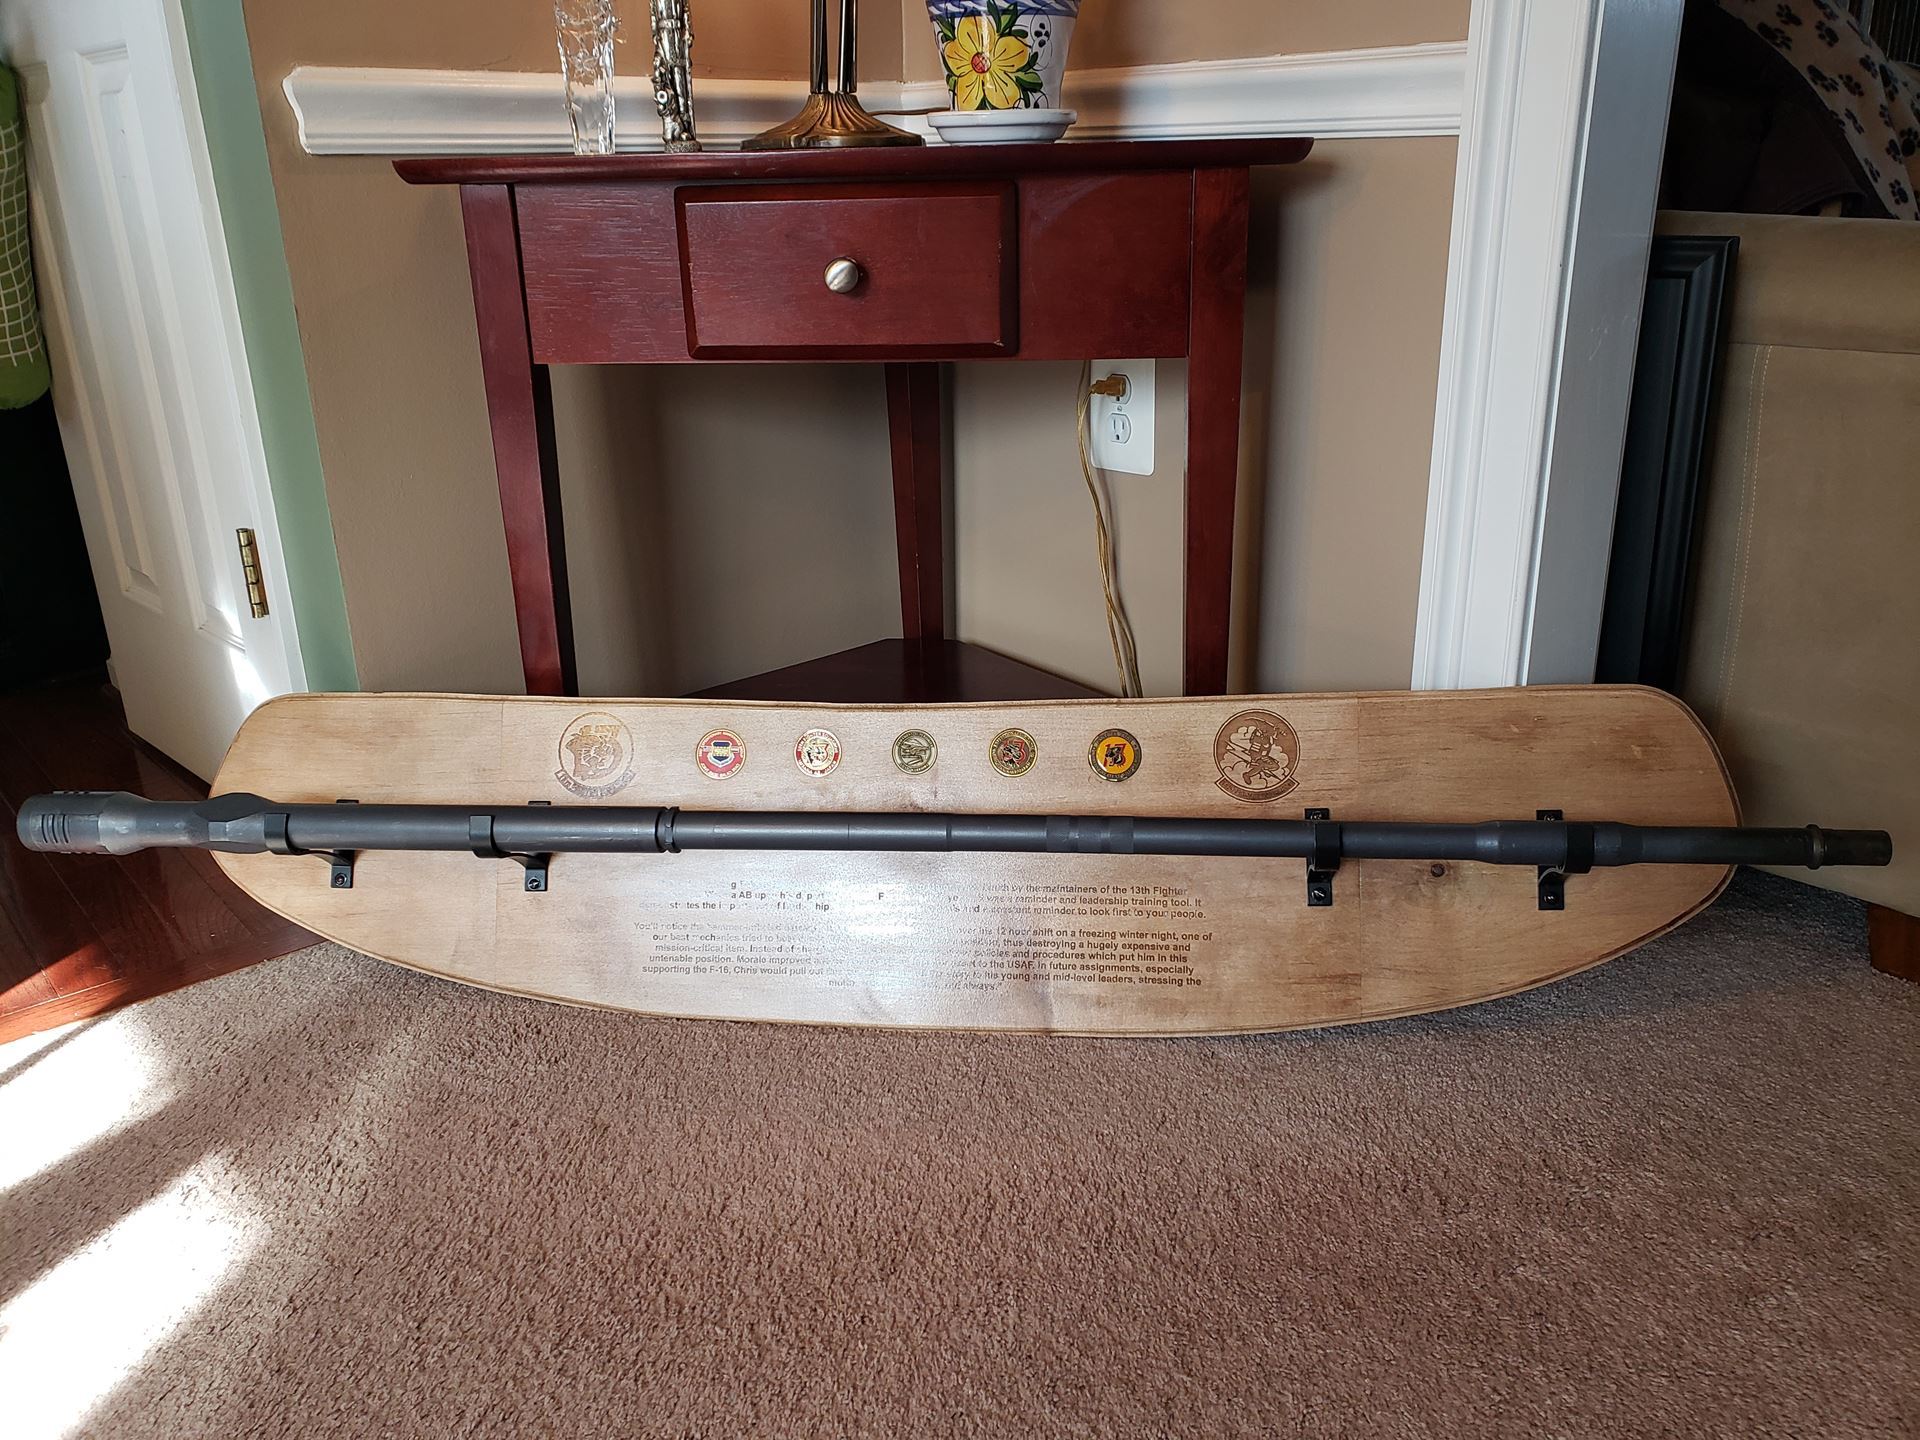
Wall Mount Retirement PlaqueStosh Kowalski When a friend, a now-retired USAF Aircraft Maintenance Officer, was leaving his squadron command years ago, he was presented a ~20 lb cannon barrel which had been retired from service due to damage. He had never found a good way to display it so I set to work making a plaque in the (elongated) shape of an F-16’s jet intake with mounts, his squadron patches and coins, and the backstory of how he came by the barrel.
The main plaque is actually 3 pieces as the entire display is too large for the laser cutter. In addition to MS-L’s laser cutter, other Makersmiths tools I used included the 36” belt sander, disc sander, compound sliding miter saw, and the router, all at MS-P. The plaque is not perfectly symmetrical because, when routing, I hit a cavity or rotted spot in the maple, so I trimmed it down and went with it. Hand sanding the laser cut coin mounts made sure the coins fit snug into their slots. There is empty space on the “wings” of the plaque for Velcro so additional unit patches can be displayed. |
|
|
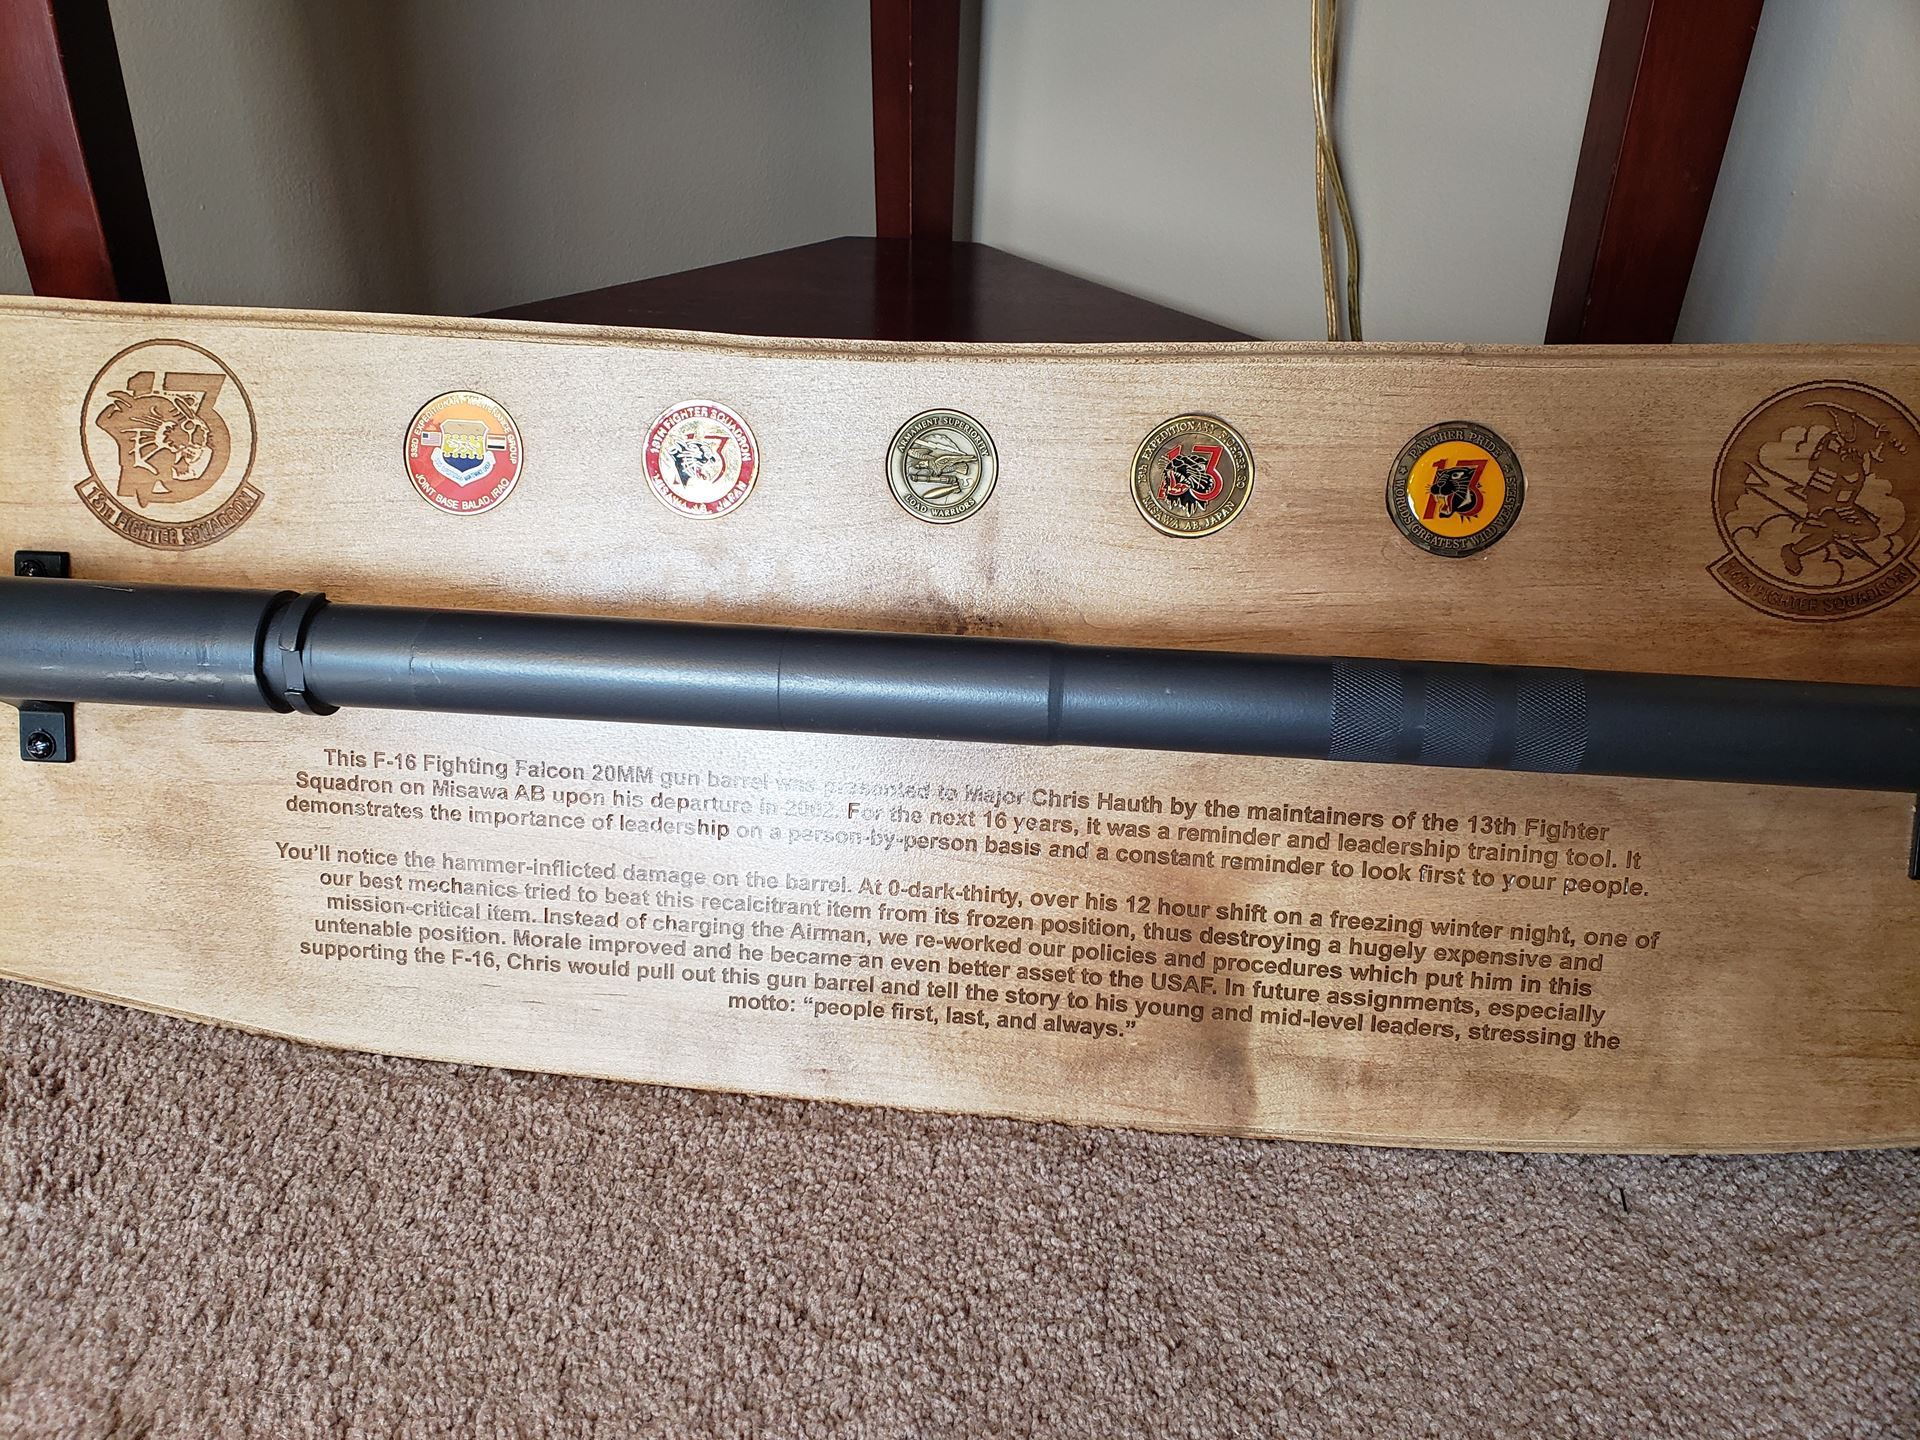
The inscription reads "This F-16 Fighting Falcon 20MM gun barrel was presented to Major Chris Hauth by the maintainers of the 13th Fighter Squadron on Misawa AB upon his departure in 2002. For the next 16 years, it was a reminder and leadership training tool. It demonstrates the importance of leadership on a person-by-person basis and a constant reminder to look first to your people.
You’ll notice the hammer-inflicted damage on the barrel. At 0-dark-thirty, over his 12 hour shift on a freezing winter night, one of our best mechanics tried to beat this recalcitrant item from its frozen position, thus destroying a hugely expensive and mission-critical item. Instead of charging the Airman, we re-worked our policies and procedures which put him in this untenable position. Morale improved and he became an even better asset to the USAF. In future assignments, especially supporting the F-16, Chris would pull out this gun barrel and tell the story to his young and mid-level leaders, stressing the motto: 'people first, last, and always.' " |
|
|
What's New? Have you visited the Makersmith YouTube page? The latest video can help you find the right software for your project and gives a good overview of vector drawing! Check out Intro to Vector Drawing for CNC - Part 1
Remember, the Wiki has a lot of information about the tools that can be found at Makersmiths. For example, you can now find CNC Workshop Pre-class materials here to increase your understanding during your actual class!
|
|
|
Announcements
The Round Hill Arts Center’s annual Appalachian Trail Art Show has a call out for artists to submit their work that reflects life along the trail. Do you have a piece to submit?
- Drawing
- Painting
- Printmaking
- Photography
- Sculpture
- Pottery
- Textile
- Mixed Media
If so, please visit go to https://www.roundhillartscenter.org/events-1
|
|
|
Upcoming Classes
We have two classes that will definitely add to your Valentine's Day fun!
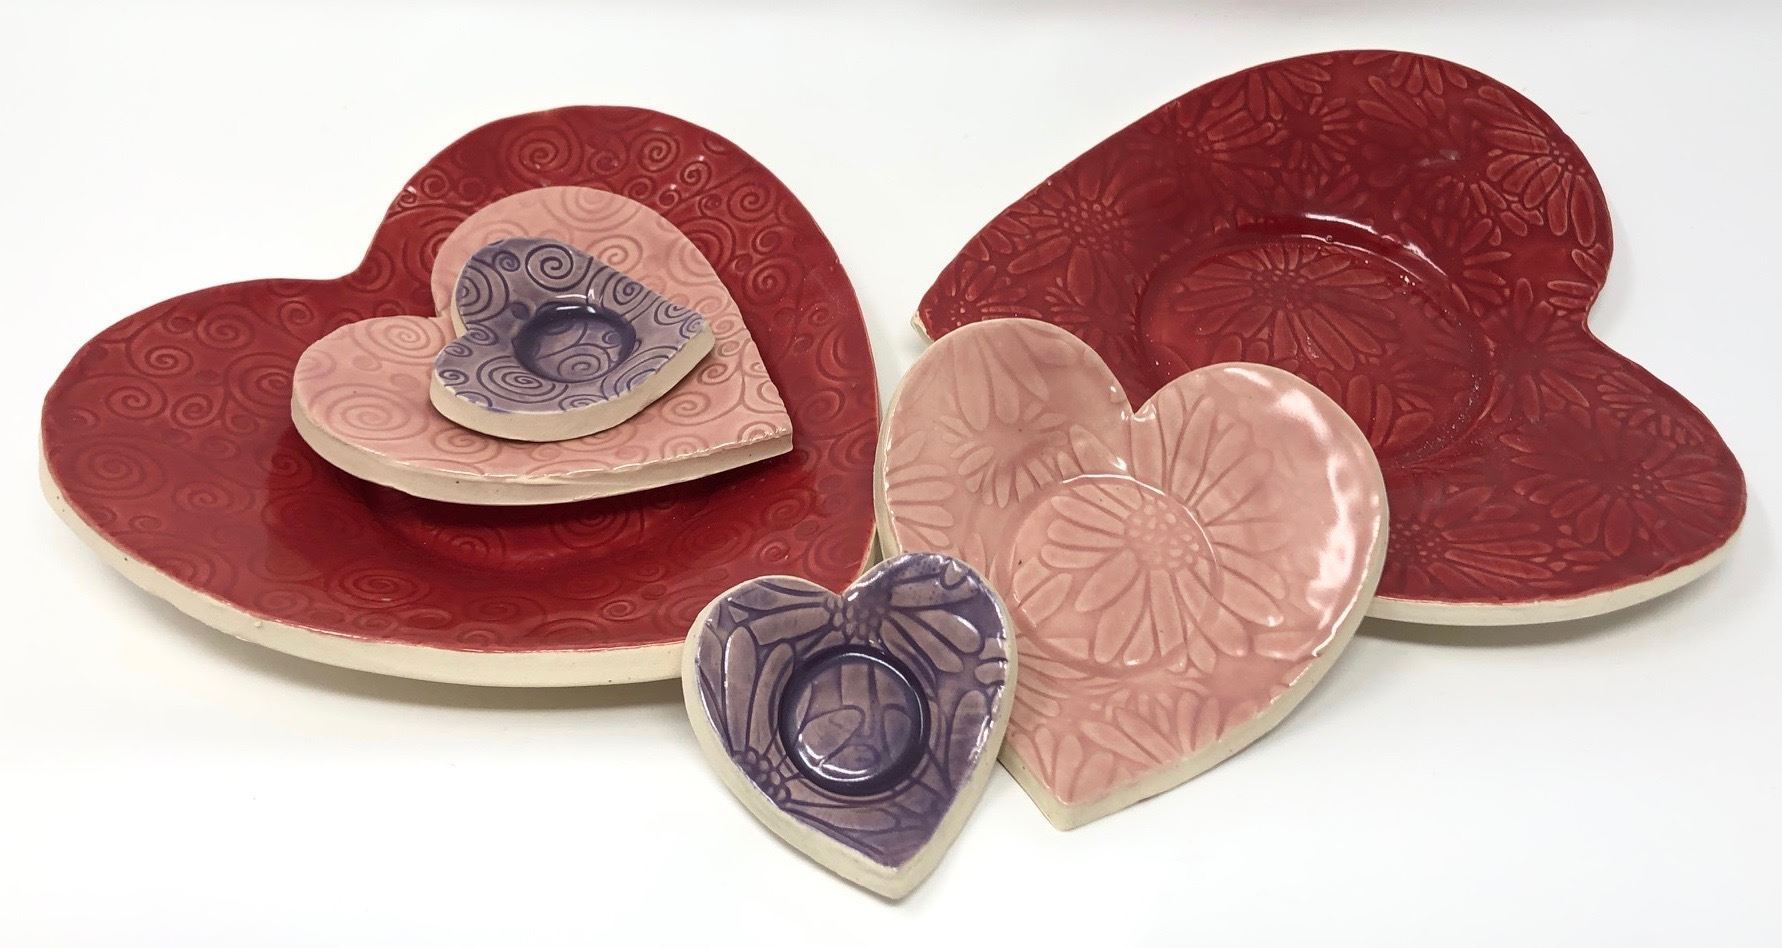
Handcraft a set of three nested heart dishes! Learn some basics of ceramics hand-building
and make the dishes during this two part workshop in our ceramics classroom in
Purcellville. Part I will be Feb. 5 from
2-4pm and Part II on Feb 10 from 6-8pm.
No ceramics experience necessary. All materials will be provided. You
will be be able to pick up your glazed and fired dishes on Feb. 12 from 1:30-4
pm in the Green Room - just in time for Valentine's Day. |
|
|
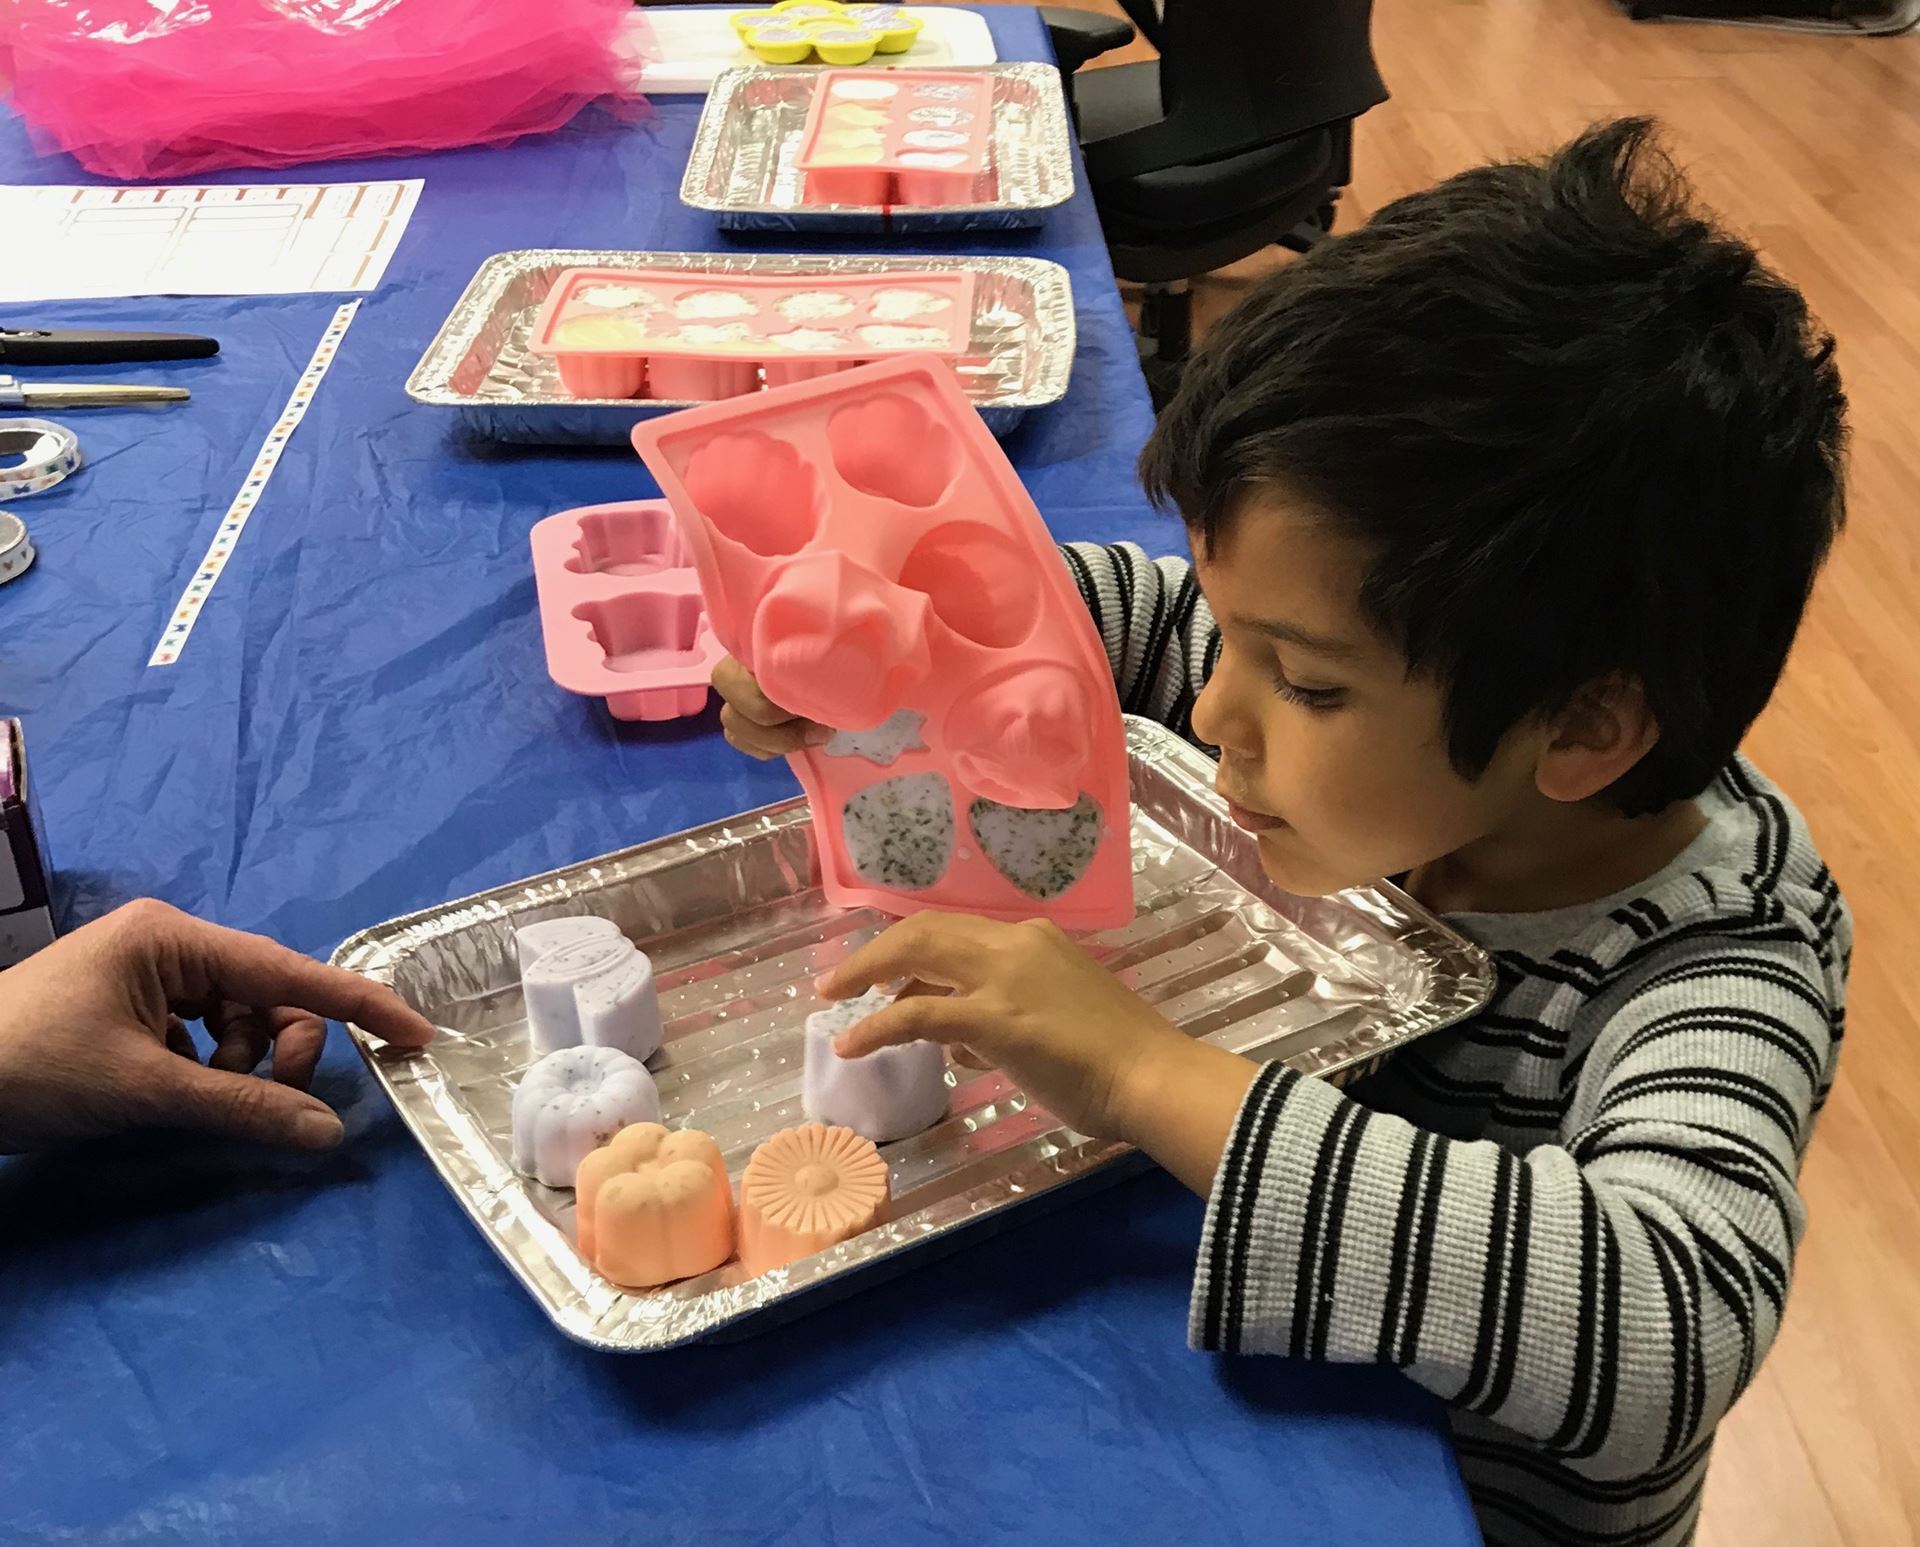
Family Soap-making Workshop for Valentines Day
A registered teen or adult may bring a child as a helper - or come alone if you wish! We will make Lavender Chamomile and Honey-Almond-Oatmeal guest soaps using a melt and pour process. Each paying registered participant will receive a silicone mold (as pictured below) that will make 8 luxury soaps and a few other heart shape soaps any Valentine would love! Directions will be shared so participants can continue making soaps at home.
|
|
|
|
|
|
|
As always, check out the events calendar for a complete listing of upcoming classes. New classes are added all the time. Have something you want to share? Become an instructor! Other February classes include: - MS-P Red Tool Woodworking - Basics and Advanced (two different classes)
- MS-L Red Tool Training for Woodturning Using a Lathe
- MS-L Adv Laser Cutting Rotary Tool
- MS-L Laser Cutter Introduction
- MS-P EBF CnC Introduction
- MS-L Big Red CnC Operation
|
Finally - I could really use some help with the newsletter! If you like writing or even finding untold stories that need to be shared, please contact me at melissa.kowalski@makersmiths.org. This could be your volunteer time for the month! |
|
|
Makersmiths Leesburg: 106 Royal St SW, Leesburg, VA 20175 Makersmiths Purcellville: 785 S. 20th St, Purcellville, VA 20132 Unsubscribe |
|
|
|